It’s important to have the right tools for your electronics project. One of the most important tools when working with electronics is solder pad. This article has everything you need to know about soldering pads and which ones are best for your project.
What is a Solder Pad?
A solder pad is a small copper pad used to connect electronic components such as wires and circuit boards. Solder pads are found inside printed circuit boards (PCBs) and come in a variety of shapes and sizes depending on their use.
Solder Pads for Beginners
If you’re new to electronics, or have never soldered before, there are a few things you should know. Although a lot of electronics projects use solder, it isn’t always necessary to actually melt the solder. Using your soldering iron to connect wires to terminals on the circuit board is generally easier, faster, and requires less skill and precision.
If, however, you’re working on a project that requires you to solder wires to a copper circuit board, you’ll need to use solder pads. Most solder pads are encased in a protective plastic casing to avoid contamination and damage during shipping.
Types of Solder Pads
There are many different types of solder pads. However, this will depend on the project you’re working on. Some common solder pads include:
BGA Pads:
BGA pads are divided into NSMD (non-solder mask defined pads) and SMD (solder mask defined pads). They are both used for ball grid array (BGA) components.

- SMD: The SMD is covered by the solder mask;
- NSMD: There is a spacing between the NSMD and the solder mask;
Best Size for Solder Pads
- The diameter or minimum width of single-sided pads is 1.6mm;
- The diameter of the inner hole of the pad is generally not less than 0.6mm;
- The distance between the edges of the two pads should be greater than 0.4mm as much as possible;
How to Solder a Wire to a Pad?
Before you solder components together, make sure you have the right equipment and know how to use it.
Step 1: Collecting solder tools
First, you’ll need a soldering iron, solder, a solder pump or sponge, and some solder wire. Before you begin soldering, clean your working surface with a sponge. This will remove any dirt or dust that could potentially get into your circuit.

Step2: heating up soldering iron
Next, you’ll want to heat up your soldering iron. You’ll want the iron to be hot enough to melt solder but not too hot that it damages your circuit.

Step3: Add Solder To The Joint
Then, you’ll want to tin the tip of your soldering iron by putting a small amount of solder on the tip. This will help the solder to flow easier.

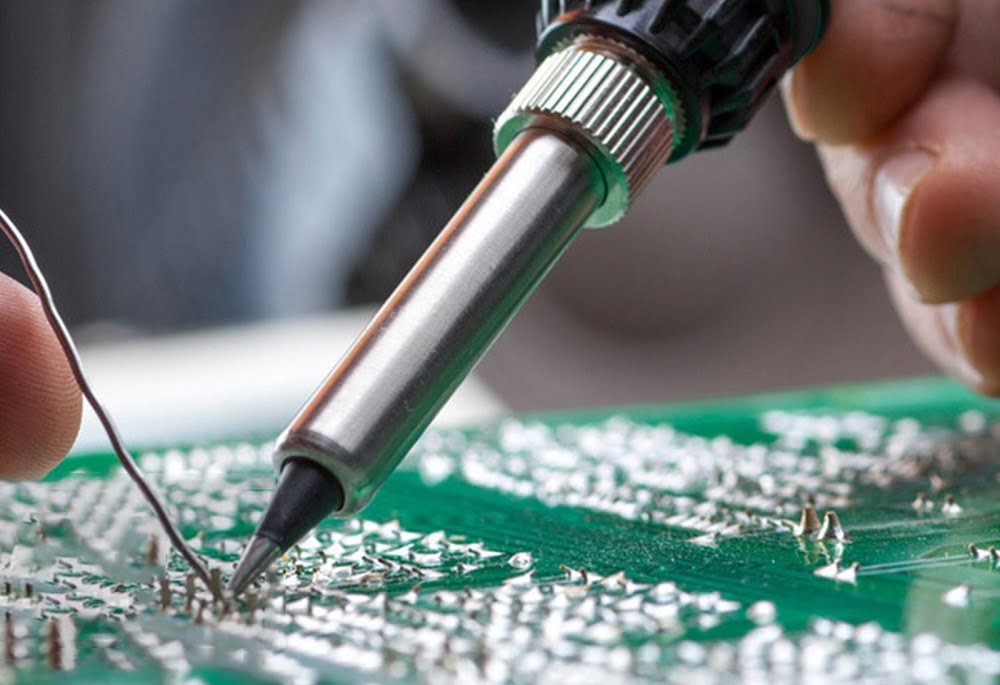
Step4: soldering Wire to Pad

Tips for Working with Solder Pads
When working with solder pads, there are a few extra tips you can follow to help make your job easier:
(1). If your PCB has a solder mask, you don’t want to solder over the solder pads, or you risk damaging the board’s traces. To avoid this, use a solder mask stripper to remove the solder mask without damaging the traces.
(2). Make sure your solder pad is clean before you try to solder to it. You can clean the solder pad using either a solder sucker or a small iron and some solder. If you use solder to clean a solder pad, make sure that the solder flows into the pad, not just sits on top of the pad.
(3). Keep your copper pads as clean as possible. If there is a lot of grease or oil on the copper, it will not conduct electricity.
(4). To ensure a balanced surface tension of the molten solder, the pads at both ends must be symmetrical.
(5). The width of the pad should be basically the same as the width of the component end or pin.
(6). Make sure that the distance between the terminals or pins of the electronic components and the pads is appropriate. Soldering defects can be caused because the spacing between the pads is too large or too small.
Final Words
Using solder pad will make your electronics project much easier to work on and finish quickly. If you’re new to electronics projects, or want to refresh your memory on how to use solder pads. With this helpful information, you can complete any electronics project with ease and confidence!