PCB Assembly Service
What is PCB Assembly?
PCB Assembly (PCBA) is the process of assembling electrical circuits into a printed circuit board. The finished product can either be used for electronic devices or as an integrated part in other PCB assemblies with different functions.
Our PCB Assembly Services
PCB assembly, the act of connecting electronic components to a printed circuit board using heat-resistant soldering material. Our PCB assembly services are available with fastest delivery time and we offer surface mount technology (SMT), through hole technology, and mixed technology.
Comprehensive PCB Assembly Solutions
- Surface Mount Technology(SMT) Assembly
- Ball Grid Array(BGA) Assembly
- Single & double-sided Assembly
- Through Hole Technology(THT) Assembly
- Electro Mechanical Assembly
- Cable Wire Harness Assembly
- Mixed Technology PCB Assembly
- Selective Soldering Unit Test
- Automated Optical Inspection(AOI) Testing
- BGA Placement- X-Ray checking
How to Assemble PCB Boards?
Tools Checklist
- A PCB layout or schematic. (This will show how the circuit is laid out on the board.)
- A copy of the PCB manufacture's schematic board layout template.
- The appropriate PCB manufacturing equipment, such as a PCB printer or etching machine.
- The correct components and materials, such as conductive and insulating material, soldering irons, and so on.
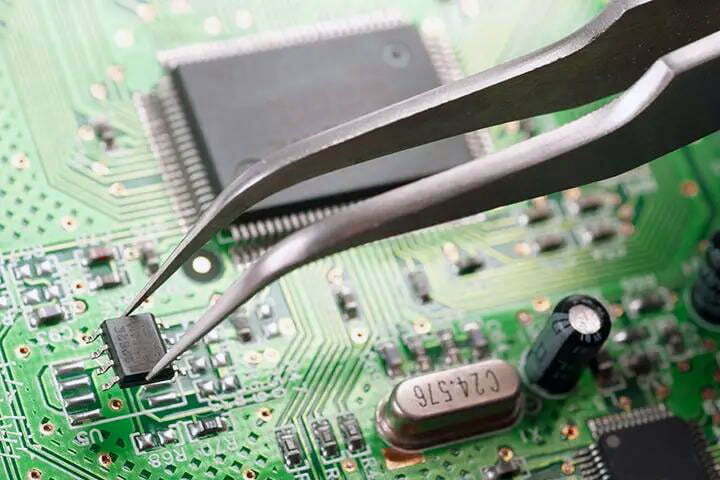
Step1: Component Placement
This step is the most straightforward. Here, we take the components and place them on the board. This step is the most straightforward. Here, we take the components and place them on the board. Dimensional Constraints : In this step, we must adhere to the board size and trace-width requirements. In this step, we must adhere to the board size and trace-width requirements. Final Assembly: At this point in the process, we have all of our components on the board and can begin soldering.
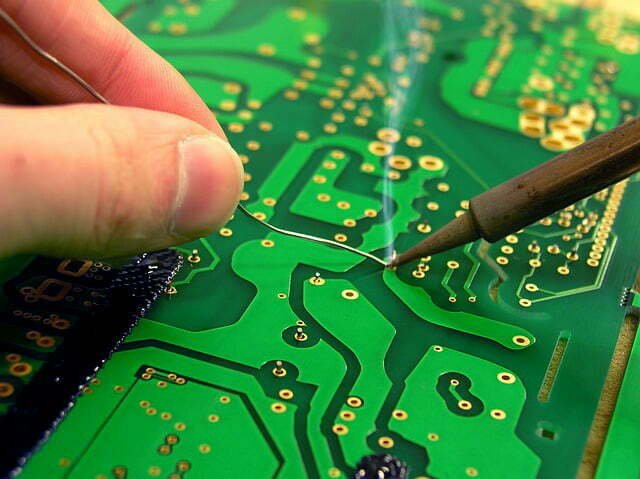
Step2: Circuit Board Soldering
One of the most important aspects of PCB Assembly is soldering. If you have ever tinned a PCB, you have experienced the “smell of soldering”. This is because solder conducts electricity and helps us build electronic circuits. We often call solder “the conductor”, because it helps us link components on a board together. Soldering is one of the most important PCB Assembly steps. This is because without it, we would not be able to create electronic circuits. Solder is used to join components together. This is achieved by melting the solder on one component and then placing the solder in a mass on a heated surface. The solder melts onto the components and creates a bond between them. Soldering is a delicate process. It is often the most expensive part of the manufacturing process, because a lot of time, effort, and money is spent on the equipment and method used.
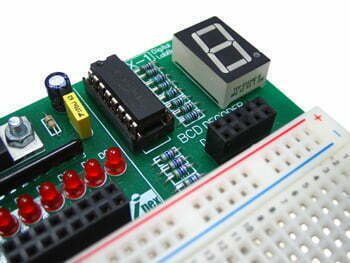
Step3: LED Board Assembly
LEDs are the most common light source used in electronics. They can act as indicators, flashlights, or be used as part of an electronic device. LEDs can help us create products like street lights, traffic lights, bulbs, computers, and smartphones. LEDs have a long lifetime and consume little energy. They are also rugged and can be used in harsh environments. Noise is another advantage of LEDs. Most LEDs produce very little light, so they do not interfere with the signal from our PCB.
Step4: PCB Test
One of the most important aspects of PCB Assembly is testability. The PCB assembly process is heavily reliant on the extent to which we can test our product. In the final stages of our assembly process, we create a test board. The test board allows us to test our electronic components and verify that they are working correctly. For example, if we use a microcontroller, we can test if the microcontroller is correctly receiving the instructions from our computer. We can also use oscilloscopes and other tools to test our functionality.
Use Testable Components
The first tip is to use testable components. If a product requires a specific voltage, we should use components that can deliver this voltage. This will help us rule out problems with the components.
There are several ways to document your PCB Assembly process. The most important thing is to make sure that you document each step. You can utilize sequence diagrams, bill of materials, and other tools to create documentation. The sequence diagrams of your process should be linked to your bill of materials. This will allow you to trace back and see what components were used in each step of the process.
Another way to keep track of your PCB Assembly process is to use a checklist. Checklists are great for repetitive tasks. They are especially beneficial during assembly. The checklist can help you avoid human errors and save time.
The last tip is to follow the steps in your PCB Assembly process. It is important to keep track of the order in which you assemble your components. If you use a checklist, you will be able to see the sequence in which you complete each step. When you are finished with one step and move on to another, it is easy to lose track of where you are in the sequence.
How to Calculate PCB Assembly Cost?
PCB assembly cost can be one of the most daunting aspects of choosing a new supplier. The cost of the PCB assembly, which is the cost of the PCBs and associated materials that go into making a finished circuit board, can vary significantly depending on the size and complexity of the order. In most cases, the final cost of each PCB assembly order can be calculated based on the number of boards and the associated material costs.
You may wonder how much a PCB assembly costs. Or you may simply want to calculate your cost of doing business with a particular PCB assembly vendor. Whatever the case may be, you’ve come to the right place! Read on for information on how to calculate the cost of a PCB assembly.
Step 1: Determine All the Costs
The first step in calculating the cost of a PCB assembly is to determine the actual costs involved in making the circuit boards for the assembly. These costs may include the cost of the boards, the cost of the material used to fabricate the boards, the cost of the labor to assemble the boards, the cost of the components and/or materials used to make the components, and the cost of the tools used to make the components and/or assemble the boards.
Step 2: Identify the Parts to Be Calculated
The next step is to identify the parts of the PCB assembly to be calculated. Remember: The cost of each board and its components can vary depending on the size and complexity of the board. The cost of a small PCB assembly may be significantly different than the cost of a large PCB assembly. However, the total cost of the PCB assembly will be the same regardless of the size of the order.
Step 3: Estimate the Quantity and Unit Cost of the Materials Used
The quantity of each material required to make the PCBs can vary greatly depending on the size and complexity of the boards. For example, the quantity of copper used in a small PCB is likely to be much less than the quantity of copper used in a large PCB. However, the cost of each type of material is likely to be similar for both small and large PCBs.

Step 4: Add All Unit Costs Together
The costs associated with purchasing and/or fabricating the boards can vary significantly, depending on the manufacturer, the quantity, and the type of boards being made. Unit costs can range from as little as $0.25 per foot for single-sided boards to $0.75 per foot for double-sided boards. As you can see from the table below, the average unit cost of a PCB assembly is around $0.45-$0.65 per foot.
PCB Assembly Quality Control
PCB Assembly Quality Control is a process that involves monitoring, testing and controlling the quality of PCB assembly. In this type of inspection; an operator will test components before they are soldered onto the printed circuit board (PCB) to ensure that there have been no errors in order for them to be usable as manufacturing parts. There are various tests performed during production including functional, electrical, mechanical and environmental tests on components such as resistors or transistors.
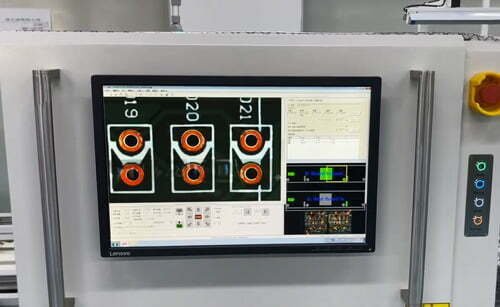
Inspecting the Assembly Process
It is important to inspect the assembly process from start to finish to make sure that all the steps are performed correctly. This includes verifying that the parts are properly marked and that the equipment is working properly.
- X-Ray detection system
- Automatic optical inspection (AOI)
- Online test (ICT) and functional test
- 100% PCBA function testing
- IPC-600G class 2 and IPC-6012B class 2 standards
- ISO 9001:2008 quality system management
- UL certification level 94v-0
- Restriction of Hazardous Substances (RoHS) compliance
How to Get PCB Assembly Service from Well Done?
Submit Requirement
Submit your requirement details of pcb assembly on the form, upload your files is available. And we'll reply to you within 24 hours.

Confirm PCB Project
Our expert will contact you for the project details, reply to you with a quotation, and confirm the order after recieving your payment.
Sample Prototype
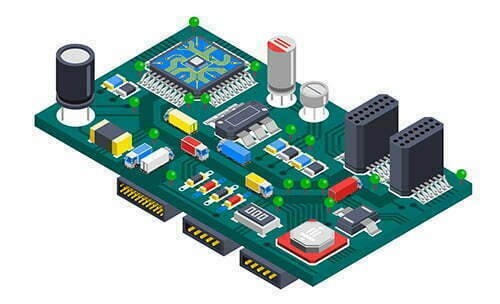
The sample will be arranged to produce as you expect within 1 day, then we confirm with you the appearance and function.
Delivery Goods
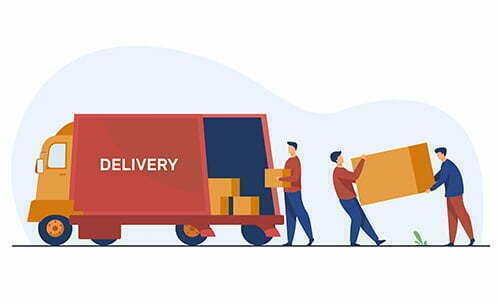
At last, your sample w'll be finally shipped to you within 7-15 days. It'll depends the shipping way you choose.
Why Choose Our PCB Assembly Services?
15 years PCBA Experience
We have been specializing in PCB prototyping and PCBA manufacturing services for over 15 years, serving more than 3,000 customers worldwide.
One-stop PCBA Solution
We possess the latest professional production equipment to handle the PCB and PCBA manufacturing process and provide complete service from PCBA design analysis, program design, sample, and mass production as a one-stop solution.
Professional Technical Team
Equipped with a professional PCB board production line, SMT processing production line, industry-leading production equipment and professional technical management team.
FAQ
A turnkey PCB assembly service is a manufacturing process in which the fabrication, and testing are all done by one company. This means that there is no need for individual companies to have their own teams of engineers who would then work with suppliers to create, assemble and test boards. As such this saves many development costs as well as time spent on design iterations from beginning to end.
A PCB assembly machine is a device that automatically produces printed circuit boards, usually from layered sheets of metal or ceramic. The process begins with placing the raw material on an automated conveyor belt and continues through various stations where layers of copper are plated onto the board by chemical vapor deposition (CVD) processes.
Tools include soldering irons for applying solder paste or flux paste with heat; pick-and transformers (or tweezers) used for placing tiny components on the board; hot air gun (a handheld device that applies heat to the copper foil); glue dispensing machine; Wave Soldering machine (for through-hole components); and more.
Here are the types of PCB assembly that you could get from our company:
– Surface mount soldering
– Through hole soldering
– Plated through hole (PTH) surface mounting
