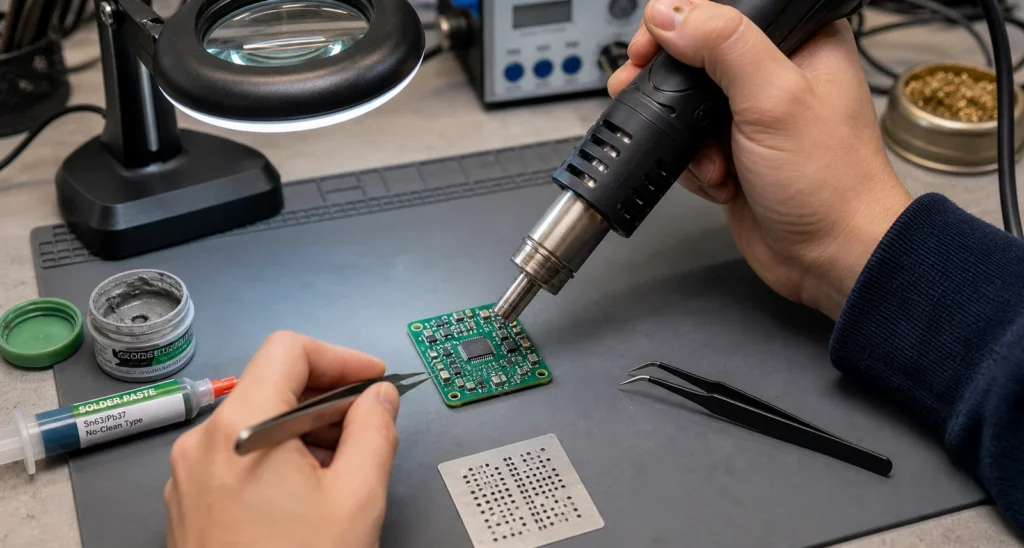
If you want to assemble your own PCB with solder paste and a heat gun, the short answer is yes, but only if you treat it as a controlled prototype method rather than a shortcut version of real reflow. A heat gun can place enough energy into a small SMT board to melt paste and seat components, but it can also tombstone passives, blow parts out of position, scorch connectors, and overheat pads faster than many first-time builders expect.
That is why the right question is not just how to assemble your own PCB with paste reflow. It is how to do it without turning one prototype into a rework exercise. For low-volume builds, a heat gun can work well for simple boards, rework jobs, and small batches. It becomes risky when the board has dense fine-pitch ICs, large thermal masses, tall connectors, or a layout that relies on the tighter airflow control of an actual reflow process.
When solder paste and heat gun reflow actually make sense
This method fits prototype assembly best when the board is small, the component mix is manageable, and you can visually monitor the whole heating sequence. It is useful for single boards, quick design validation, and occasional repair or replacement of SMT devices. It is not a good substitute for production profiling.
As soon as you introduce bottom-side parts, large ground-connected packages, moisture-sensitive components, or tight leadless packages with hidden joints, the process margin gets thin. A heat gun does not give you the same repeatable ramp, soak, and peak control described in a proper reflow process soldering workflow. You have to replace that missing control with setup discipline and close observation.
Prepare the board before you ever turn the heat gun on
Most failures blamed on the heat gun actually start before heating. If the paste volume is inconsistent, the components are poorly aligned, or the board is sitting on an unstable surface, the reflow step only reveals those mistakes more dramatically.
- Apply solder paste evenly. Too much paste is one of the fastest ways to create bridges once airflow starts moving molten solder.
- Place components with enough accuracy that surface tension can help, not rescue, the alignment.
- Support the PCB on a flat, heat-tolerant fixture so the board does not rock while parts are becoming mobile.
- Keep heat-sensitive connectors, plastic headers, and large electrolytics out of the hottest air path if possible.
- Stage tweezers, flux, wick, and magnification before heating starts, because corrections need to happen quickly after reflow.
The paste itself matters too. If you are using old or poorly stored material, the process can fail even when your heating technique looks reasonable. ReversePCB’s solder paste guide is a good reminder that printing quality and chemistry affect the final joint long before peak temperature arrives.
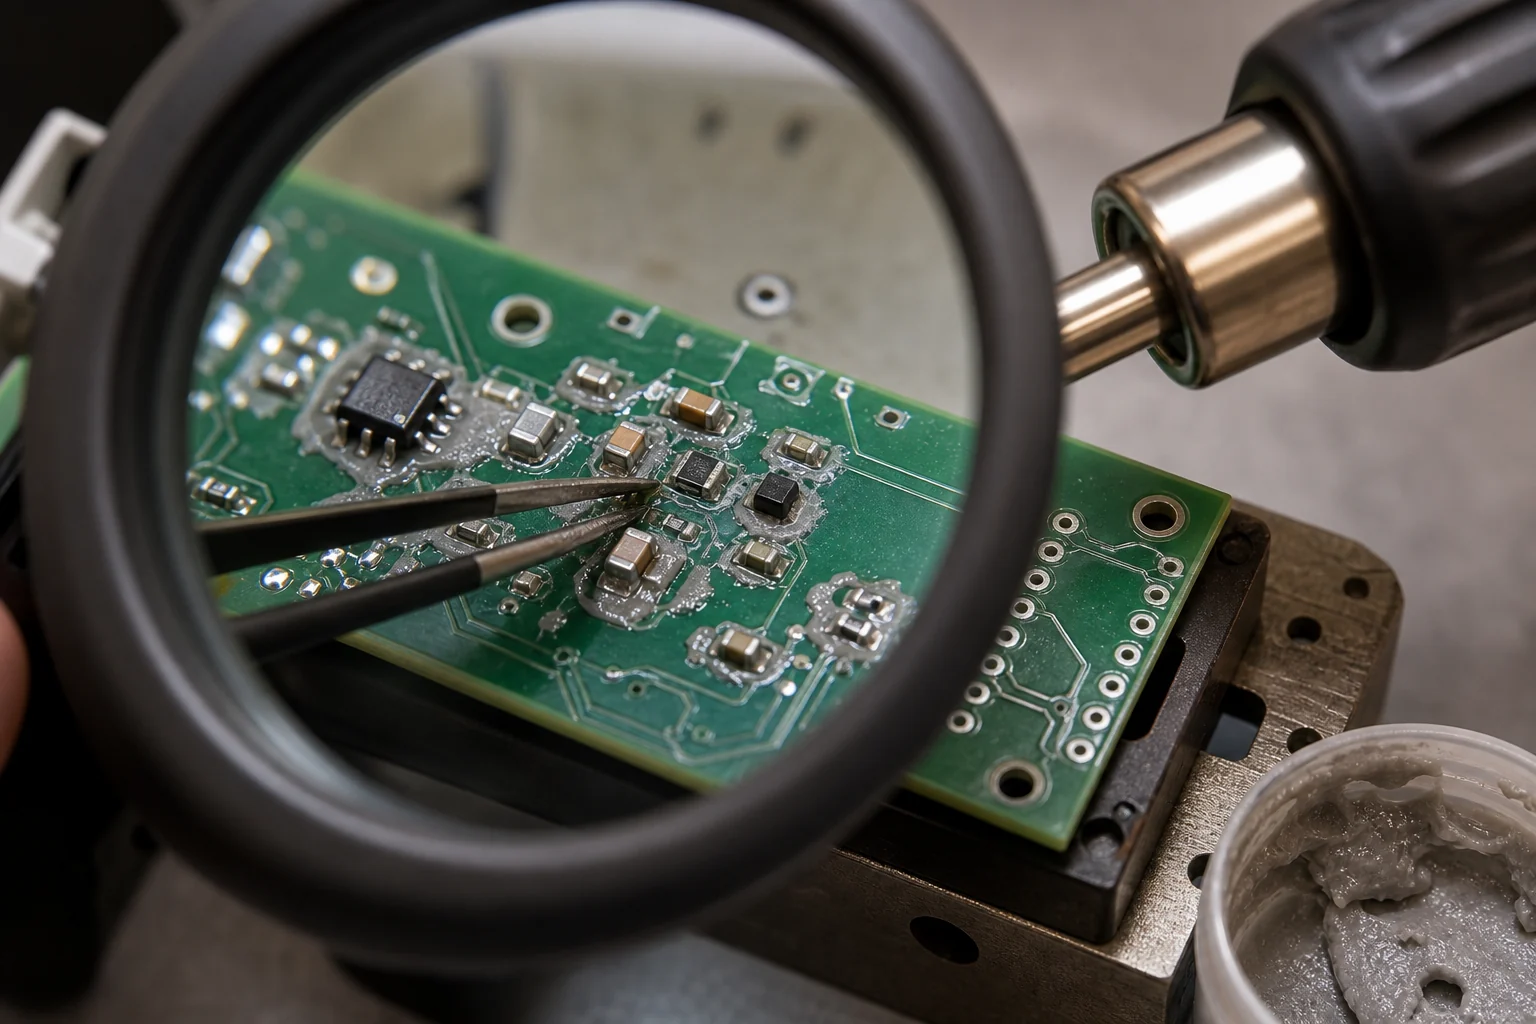
How to assemble your own PCB with solder paste and a heat gun
Start by warming the board gradually instead of pointing full heat at one corner. A gentle preheat reduces thermal shock and gives the paste time to activate more evenly. Keep the nozzle moving in small circles or sweeps so no single part takes the entire blast.
As the paste approaches reflow, watch for three things: the flux becomes more active, the paste texture changes, and components begin to settle as the solder wets the pads. Once that happens, resist the urge to keep heating for reassurance. Extra dwell after wetting is how pads, plastic bodies, and nearby passives start paying the price.
For small passives and simple IC packages, the process can be surprisingly forgiving if the paste volume is right. For fine-pitch leads, QFNs, or uneven copper distribution, it is less forgiving. In those cases, a heat gun often works best as a selective tool paired with touch-up, not as a universal reflow solution.
Do not chase every part with the hottest airflow
A common mistake is focusing the nozzle tightly on the component that looks slowest to melt. That overheats one zone while the rest of the board is still catching up. If a large part tied to copper planes is lagging, use more even preheat or rethink whether the board is a good candidate for heat-gun assembly in the first place.
Use flux and touch-up as part of the method
DIY heat gun reflow is rarely a zero-touch process. Minor bridges, one skewed passive, or a connector pin that needs extra attention are normal outcomes. Plan for controlled touch-up instead of expecting the board to come out production-perfect on the first pass.
What usually goes wrong during heat gun PCB assembly
The most common failure modes are tombstoning, solder bridges, blown-off passives, partially wetted joints on heavy pads, and heat damage to plastic parts. These are not random defects. They usually point to one of four causes: too much paste, poor component placement, excessive localized airflow, or staying at reflow temperature too long.
Board layout also matters. A design with uneven copper balance can heat very differently from one section to another. That means two components of the same size may not reflow together. If you are assembling a board that was not laid out with hand reflow or prototype rework in mind, expect more asymmetry and more manual correction.
For component-level touch-up after the main pass, the techniques in this surface mount soldering guide become useful. A prototype build often succeeds because the operator knows where heat gun reflow should stop and precision rework should begin.
Know when to stop using the heat gun
If the board has BGA parts, hidden thermal pads, tight fine-pitch lead spacing, heavy copper planes, or large connectors that need even thermal soak, a heat gun may no longer be the right assembly method. It can still be useful for localized rework, but not for whole-board confidence. At that point, the cost of fighting the process often exceeds the cost of using a more controlled oven or assembly service.
That is the practical limit for anyone asking how to assemble their own PCB with paste reflow and a heat gun. The method is real, but the margin is narrow. Use it where it fits, and do not force it onto boards that clearly want a better profile.
DIY PCB paste reflow succeeds when the board matches the method
A heat gun can assemble your own PCB successfully when the design is prototype-friendly, the paste deposits are controlled, and you stop heating as soon as wetting is complete. The process breaks down when you ask it to behave like a production oven or ignore the thermal realities of the board.
So the real trick is not how aggressively to heat the board. It is how carefully to choose which boards deserve this method at all. That decision prevents more damage than any last-minute rework skill.
FAQ
Can you really assemble a PCB with solder paste and a heat gun?
Yes, for small prototype-friendly SMT boards and selective rework jobs. It works best when the component mix is simple, the paste volume is controlled, and the operator can watch the entire reflow event closely.
Why do components move or tombstone during heat gun reflow?
That usually comes from uneven heating, mismatched pad wetting, or excessive airflow hitting one side of the part harder than the other. Too much paste and poor initial placement make the problem worse.
Is a heat gun a substitute for a reflow oven?
Not really. A heat gun can be a useful prototype or repair tool, but it does not provide the same repeatable thermal profile, airflow uniformity, or process control as a proper reflow oven.
What boards are poor candidates for heat gun paste reflow?
Boards with BGA packages, hidden thermal pads, dense fine-pitch layouts, large copper imbalances, or heat-sensitive tall components are poor candidates. Those designs usually need more controlled heating than a handheld tool can deliver reliably.