Are you looking for a comprehensive guide to programming STM32 microcontrollers? If so, you’ve come to the right place! STM32 microcontrollers are popular for their advanced features, flexibility, and low cost. In this blog article, we will provide step-by-step instructions on how to program an STM32 microcontroller. We will also discuss the benefits of using STM32 microcontrollers, their programming basics, tips for programming, and common programming issues. Finally, we will provide some courses to help you get started. So, let’s dive right in!
What is an STM32 Microcontroller?
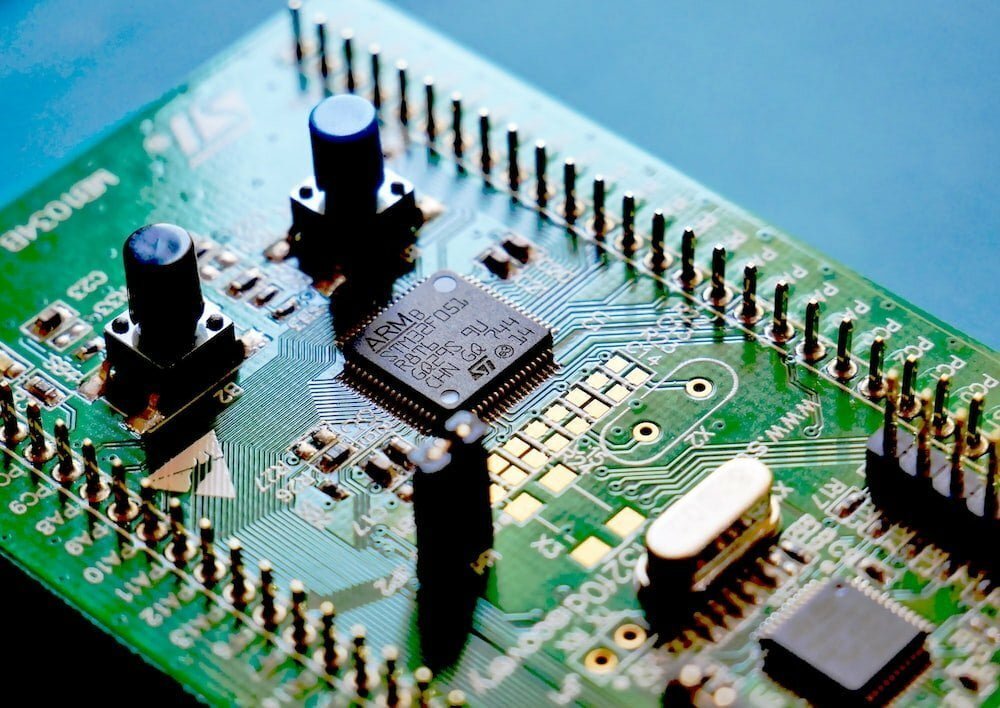
First, let’s answer the question: What is an STM32 microcontroller? An STM32 microcontroller is a type of microcontroller that is made by the company, STMicroelectronics. It is based on the ARM Cortex-M processor, which is a 32-bit processor. STM32 microcontrollers are used in a wide variety of applications, such as automotive, industrial, medical, and consumer electronics. They are popular for their advanced features, flexibility, and low cost.
In addition to the ARM Cortex-M processor, STM32 microcontrollers have other advanced features, such as:
- A wide range of peripherals, such as timers, communication interfaces, and Analog-to-Digital Converters (ADCs).
- A wide selection of software development tools that make programming easier.
- Low power consumption.
- High-speed performance.
These features make STM32 microcontrollers an ideal choice for many applications.
Benefits of using STM32 Microcontrollers
Now that you know what an STM32 microcontroller is, let’s discuss the benefits of using them. One of the biggest benefits of using STM32 microcontrollers is their low cost. They are much cheaper than other microcontrollers and can be used in a variety of applications.
In addition to their low cost, STM32 microcontrollers also offer a wide range of peripherals and software development tools. This makes them highly flexible and allows for easy customization. They also have a low power consumption, which makes them ideal for battery-powered applications. Finally, STM32 microcontrollers have a high-speed performance, which makes them suitable for applications that require fast processing.
Example of Programming STM32 Development Board
Tools Requried
- STM32 development board
- ST-LINK downloader
- STM32CubeMX and support pack
- Keil5 (MDK-Arm)
- Breadboard
- Dupont Line
Procedure
Step 1: Connect the Dev Board to your Computer
The first step is to select the right STM32 development board for your application and then connect it to the computer by ST-LINK downloader. You should consider factors such as the size, cost, performance, and features. Here we use STM32f051k8u6 as example:

Step 2: Download STM32CubeMx and Keil5 Tool Kits
Download the “STM32CubeMX” software on ST official website or below URL: https://www.st.com/en/development-tools/stm32cubemx.html

Download the Keil MDK development kit on Keil5 website or this URL:
https://www2.keil.com/mdk5

Step 3: Create a New Project in STM32CubeMX
Double-click to open “STM32CubeMX”:

Click the “New Project” option:

Choose the target MCU or board in the MCU Filters:

Step 4: Install New Libraries for STM32 Development Board
Download the library of stm32f051k8u6, as shown in the figure below “Help-> Install New Libraries“:

Select “stm32f0”, then click “Install Now”, after the download is complete, the box will turn green:

Step 5: Generate the Code and Save the Project
Writing the code is the process of writing the instructions for the microcontroller in C or C++. This is usually done using an Integrated Development Environment (IDE) such as Keil, IAR, or Eclipse. Of course, as an alternative, you can also use STM32CubeMX to generate the code. As figure shows below, click the button to generate the chip code:

Save the project:
- Enter the project name “Project Name”;
- Select the project to save to the disk path “Browse”;
- Select to generate Keil5 software project “Toolchain / IDE -> MDK-ARM V5”;
- Build the project, click “OK”.

Step 6: Compile the Program Code in Keil5
Once the code is written, it must be compiled. Compiling the code is the process of converting the code into a format that can be read by the microcontroller. Here we use Keil software to finish the process. At first, we click “Open Project” button to open the stm32 project saved in last step:

Next, click “build” or press the keyboard shortcut “F7” to complete project compilation:

Step 7: Debug the Program Code with µVision® Debugger

Step 8: Upload the Program Code to the STM32f051k8u6 Dev Board
Then click “Downlowd” or press the keyboard shortcut “F8” to complete the programming.

Tips for Programming STM32 Microcontrollers
Now that you know how to program the STM32 microcontroller, let’s discuss some tips for programming it. The first tip is to use the STM32CubeMX software. This software helps you configure the microcontroller and write the code. It also helps you debug the code and upload it to the microcontroller.
The second tip is to use a version control system. This will make it easier to keep track of changes and ensure that your code is always up to date. Finally, make sure to test your code thoroughly before uploading it to the microcontroller. This will help you identify any errors and ensure that your code works as expected.
Common Programming Issues
Debugging can be difficult because it requires a lot of patience and trial and error. It is important to use a debugger that supports the STM32 microcontroller and to test your code thoroughly before uploading it.
Another common issue is memory allocation. Memory allocation is the process of allocating memory to the microcontroller. This can be difficult because you need to make sure that there is enough memory for all the code and data. It is important to use a memory allocation tool to help you allocate the memory correctly.
Courses for Programming STM32
Finally, let’s discuss some courses that can help you get started with programming STM32 microcontrollers. There are many online courses available that will teach you everything you need to know about STM32 programming. These courses usually include lectures, tutorials, and hands-on projects. Some of the most popular courses include:
- Udemy’s “STM32 Programming”
- Coursera’s “Programming STM32 Microcontrollers”
- edX’s “Introduction to STM32 Microcontrollers”
These courses are a great way to learn the basics of STM32 programming and get hands-on experience.
Engineering checks for Programming STM32 Microcontrollers: A Step-by-Step Guide
Before using Programming STM32 Microcontrollers: A Step-by-Step Guide in a PCB, firmware, repair, or validation workflow, confirm the details that usually decide whether the design works reliably instead of only reading the headline specification.
Design and troubleshooting checklist
| Area | What to check | Why it matters |
|---|---|---|
| Power and clock | Check rails, decoupling, reset, oscillator, boot pins, and debug access | MCU boards fail quickly when support circuits are weak |
| Firmware path | Match stm32 programming with toolchain version, memory map, fuses, option bytes, and bootloader flow | Programming assumptions affect recovery and production |
| Validation | Test GPIO, ADC, timers, serial buses, current draw, and fault recovery | Peripheral tests reveal schematic and firmware mismatches |
These checks help connect the search intent around stm32 programming with practical board-level decisions, component selection, and failure analysis.
Conclusion
In this blog article, we have discussed how to program STM32 microcontrollers. We discussed the benefits of using STM32 microcontrollers, their programming basics, tips for programming, and common programming issues. We also discussed the best development boards for programming STM32 microcontrollers and the courses you can take to get started.
We hope that this blog article has been helpful for you. If you have any questions or need help, please don’t hesitate to contact me at info@reversepcb.com. I’ll glad to help you.
Related Post: