Embroidery Machine Introduction
The embroidery machine can realize difficult and complex process, automatic head change, easy to operate. Widely used in various industries such as clothing, home textiles, curtains, children’s clothing, etc., with comprehensive functions to meet the requirements of different embroidery techniques.
Feature Introduction
- Fully automatic driver and motor;
- 2-8 multi-heads;
- Auto thread cutter;
- With upper thread clamping;
- Low thread breakage rate;
- Low noise structure design;
- XY linear guide rail;
- Durable belts;
- precise and efficient.
Performance Parameter
- Model: HFCEV-912;
- Power: 2.5kw;
- Voltage: 3 phase(S), 380V, 50/60Hz;
- Dimensions: 244.29″L x 71.65″W x 55.12″H;
- Towel needle number: 6;
- Flat embroidery needle number: 9;
- Number of flat embroidery heads: 12;
- Number of towel heads: 12;
- Head distance: 19.68″;
- Rotation speed of flat embroidery: 250 to 1200 rpm;
- Rotation speed of towel embroidery: 250 to 1200 rpm;
- Computer operation head: D19 electric control
- Application: clothing, shoes and hats, textiles, etc.
Accessories (Optional)
- Single sequin device;
- laser device;
- bead device;
- Lamination device;
- cord embroidery device;
- Four sequin device.
How Does Embroidery Machine Work?

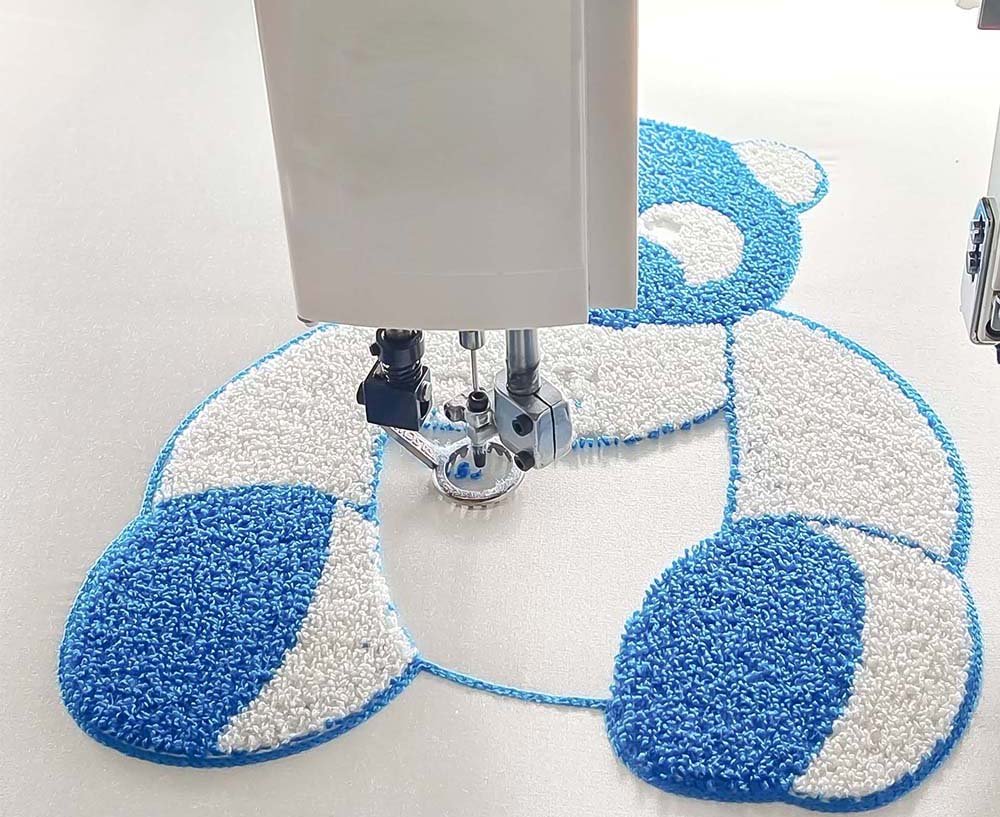
- Embroidery machines use a needle and thread to stitch a design onto an embroidery blank, which can be anything from cotton fabric to cardstock paper or balsa wood.
- Designs are loaded into the machine, either pre-loaded or transferred from a computer, and then a hoop is used to secure the fabric to the machine.
- The machine then uses the designs to direct the needle where and when to stitch on the hooped blank. The process is repeated until the entire design is completed.
- The paper-covered stabilizer is directly secured in the hoop and the paper is removed from inside the frame to expose a sticky surface.
- Fabric is placed over the sticky surface and then the machine tacks it down. Finally, the machine finishes the border with a satin or other decorative stitch.

