In the last article, we introduced how to install the TouchGFX software. Here, we introduce how to use STM32CubeMX to transplant TouchGFX to the STM32 development board F429IGT6 and drive the RGB screen.
How to Transplant TouchGFX Project Using STM32CubeMX?
In this tutorial, our goal is to port the TouchGFX project to the STM32 development board.
Tools Required
Hardware
A core board/development board based on STM32 MCU: STM32F429IGT6;
A display with RGB interface, recommended resolution: 800*480;
ST-Link or compatible debugger;
Software
ARM Keil uVision5 (version used in this article: V5.38.0.0);
STM32 CubeMX (version used in this article: 6.9.2);
TouchGFX Generator software package (version used in this article: V4.22.1).
STM32CubeMX Configuration
STM32CubeMX is mainly used to configure the hardware abstraction layer and middleware layer in the application framework diagram of TouchGFX.
Start a New Project:
Start a New Project from MCU STM32F429IGT6
RCC system clock: High-speed external clock (HSE) configured as an external crystal oscillator.
RCC Mode and Configuration_Setting HSE as CrystalCeramic Resonator
Since we need to use the FreeRTOS operating system, it is recommended to change the Timebase Source of the HAL library from SysTick to other timers. After selecting the timer, the system will automatically configure TIM, which is set to TIM7 here.
SYS Mode and Configuration_Setting Timebase Source as TIM7
FMC settings: Configure external SDRAM as the video memory of RGBLCD, and configure parameters and pins according to your own hardware.
FMC Mode and Configuration_Use SDRAM
FMC Mode and Configuration_Configure the SDRAM parameters
DMA2D settings: Activate DMA2D, configure the color mode to RGB565, and enable DMA2D interrupts.
Activate DMA2D Mode and Configure Color Mode as RGB565
DMA2D Mode and Configuration_NVIC Settings_Enabled Interrupt
LTDC parameter settings: Configure LTDC parameters according to the screen parameters used.
LTDC Mode and Configuration_Parameter Settings
LTDC layer settings: Choose to use layer 1 here, and set the frame buffer address to the first address of SDRAM 0XC0000000.
LTDC Mode and Configuration_Layer Settings
LTDC GPIO pin settings: Configure the GPIO according to the pin connections of the specific development board. Note that the output speed should be set to “Very High”; and the LTDC interrupt should be enabled.
LTDC Mode and Configuration_GPIO Settings
LTDC Mode and Configuration_NVIC Settings_Enabled Interrupt
Clock tree configuration: The pixel clock size is 1056*705*60/1024/1024=42M, the maximum pixel clock value is 42M, here it is set to 33M (1056 is the total width, 705 is the total height).
Clock Configuration_Input frequency_HSE
Backlight pin settings: The development board in this article uses PB5 as the backlight pin and is set to push-pull output.
GPIO Mode and Configuration_Configure PB5 as Backlight Pin
Activate CRC: TouchGFX needs to enable the CRC function.
Activate CRC Mode
Activate the FreeRTOS system: set the heap size to 32768 bytes and the rest to default configurations; and add a TouchGFX task.
FREERTOS Mode and Configuration_Config parameters
FREERTOS Mode and Configuration_Add Tasks and Queues
Generate project code: After STM32CubeMX generates the project, don’t open the Keil project. (If you compile the Keil project at this time, a large number of errors will appear.)
Generate Project Code_TouchGFX FreeRTOS
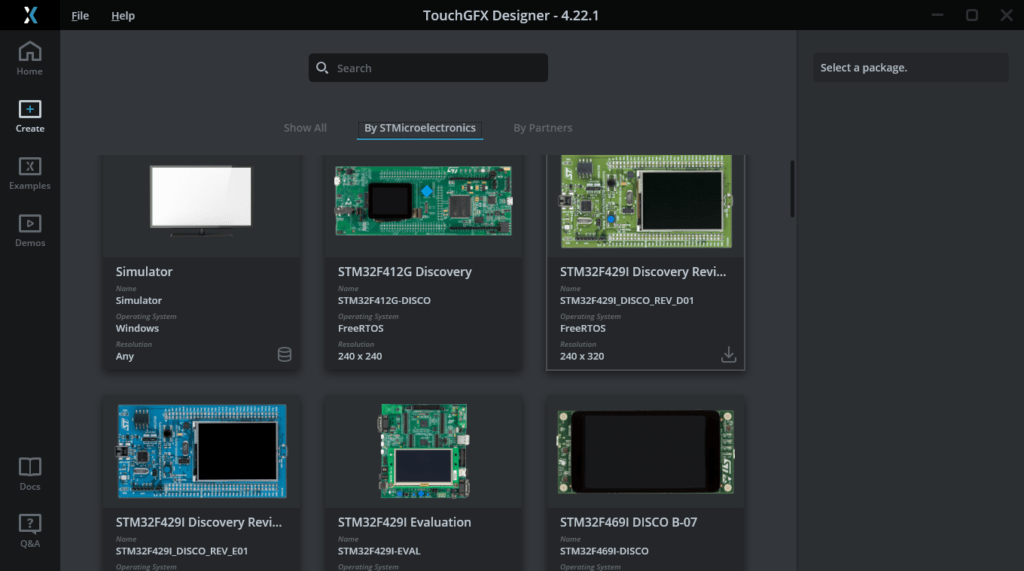
TouchGFX Designer
After the Keil project is generated, The Code is successfully generated under:
E:/STM32 Project/STM32F429/TouchGFX FreeRTOS
STM32 Project_Open the Application Template.touchgfx
We find this path. There is ApplicationTemplate.touchgfx.part in the TouchGFX directory. Click to open TouchGFX Designer to design the UI.
TouchGFX Designer Generate Code
After dragging and dropping some controls and clicking Generate Code to generate the code, the TouchGFX related code will be automatically added to the project.
MKD-ARM Keil Compile
Add SDRAM driver source files and header files.
Keil Project_TouchGFX_Edit sdram.c
Add the SDRAM initialization function in the MX_FMC_Init() function of the fmc.c file to drive the external memory chip.
Keil Project_TouchGFX_Edit fmc.c
Turn on the screen backlight in the touchgfxhal.cpp file.
Keil Project_Edit TouchGFXHAL.cpp
Add the corresponding task and add the TouchGFX processing function.
Keil Project_Edit freertos.c
Download and Test
After compilation is correct, download it to the development board.
Download the project code to the STM32F429 development board
If TouchGFX is transplanted successfully, the development board screen will display the interface designed in TouchGFX Designer.
TouchGFX was successfully ported to the STM32F429 development board