Introduction to STM32MP1
In the process of continuous iteration of chips, many excellent models have been produced. For example, STM32MP1 is a model of the new generation of MPU. In 2019, ST launched the STM32MP1 series of chips for the first time, with a main frequency of 650MHz and a groundbreaking heterogeneous system architecture (HSA) that combines the dual advantages of MPU and MCU. In early 2020, ST then launched the STM32MP15xD and STM32MP15xF series with a main frequency of 800MHz. They still use the Arm® Cortex®-A7 dual-core application processor and the 209MHz Cortex®-M4 processor in their architecture. Its higher frequency and stronger computing power can support the needs of higher quality audio and video, high performance, and longer life cycle.
Features of STM32MP1
- Dual Cortex®-A7 cores clocked at 650 MHz, Cortex®-M4 core clocked at 209 MHz.
- Cortex-A7 core supports open source operating systems, Cortex-M4 core supports real-time and low-power task processing.
- Optional advanced peripherals FD-CAN, MIPI DSI LCD interface, and 3D graphics processing unit (GPU) for advanced HMI development.
- Rich digital peripherals: USART, SPI, IC, high-speed USB, Gigabit Ethernet, TFT LCD interface, etc.
- Analog peripheral set: 16-bit/14-bit ADC, 12-bit DAC, temperature sensor, etc.
- Optional advanced security features: 3DES, AES256, GCM, CCM, etc.
- High integration, packaging compatibility, low-cost PCB technology and dedicated power management ICs (PMICs).
- Development tools and commercially available core boards provided by ST and its partners.
Application of STM32MP1
For Human-computer interaction interface, dual-core Arm Cortex-A7 @ 800 MHz can drive high-definition video decoding, 3D GPU brings a smoother user experience, audio and real-time processing are seamlessly and flexibly combined with the Cortex-A+Cortex-M heterogeneous architecture, There are also a wide range of partners to provide you with graphics processing, software and hardware services, etc.
For industrial applications, the new generation of 800MHz STM32MP1 can not only guarantee 100% operation time for 10 years and a junction temperature range of – 40°C to 125°C; it can also realize industrial connections and has enough computing power for multi-protocol processing. Cortex -M4 is used for real-time processing; in addition, it has a multi-level security protection strategy for Industry 4.0, is compact and power-saving, and has a 10-year rolling supply commitment; 4 packages are available.
For Cutting-edge applications, such as AI functions, can add natural language to the product through simple operations, with far-field and local wake-up capabilities. STM32MP1 has dual capabilities to ensure the implementation of AI. Cortex-A/Linux can natively support TensorFlow Lite; STM32Cube .AI development software implements machine learning on the Cortex-M4, while camera and audio interfaces simplify input device integration.
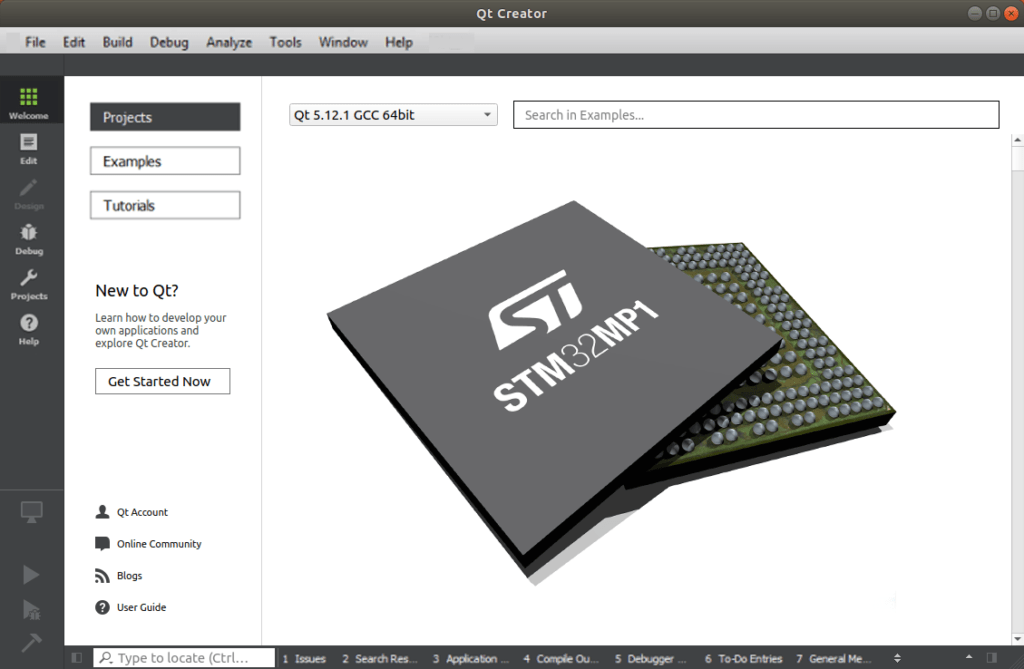
STM32MP1 Development Case-QT Creator Configuration
QT is a cross-platform development library, mainly used to develop graphical user interface programs, and can also develop terminal command lines. At the same time, QT supports multiple platforms (Linux, windows, android, embedded arm, etc.). Here we will introduce how to use QT to build a development cross-compilation environment for the STM32MP1 series chips.
Required Tools
- QT installation environment: ubuntu18.04
- MP1 series chip: STM32MP157
- Qt Creator software
Download & Install Qt Creator
Download the QT software at the following official link:
http://download.qt.io/archive/qt/5.14/5.14.2/

You need to select the installation package according to your system.
After the download is complete, go to the directory where the file is located and add executable permissions, and execute after adding permissions. The command is as follows:
					chmod u+x qt-opensource-linux-x64-5.14.2.run
sudo ./qt-opensource-linux-x64-5.14.2.run
Next, we start to install the Qt creator, the details are as follows:

After the installation is completed, go to the qt installation directory and execute the qt executable file. Executable file path: /opt/Qt5.14.2/Tools/QtCreator/bin
Configure Compiler Environment
The main configuration objects are qmake, g++, and kits.
Firstly, we open the Qt Creator, and then select “Tools->Options” on the menu toolbar to enter the configuration page.

Secondly, add the qmake path of the cross-compilation tool chain. (Note: The cross-compilation tool chains of different platforms are different, whichever is provided by the official or developer. The stm32mp1 cross-compilation tool chain used here.)

Thirdly, add the cross-compiler tool chain g++ path.

Finally, configure the kits compiler environment.

Cross-compiler Environment Verification
Create a new demo routine and verify it. Select the cross-compile kit, build project, and put the compiled executable file on the development board for execution. You can see the routine screen on the screen.
The compiled output directory is generally the project save path, and the executable file is in the compiled output directory.