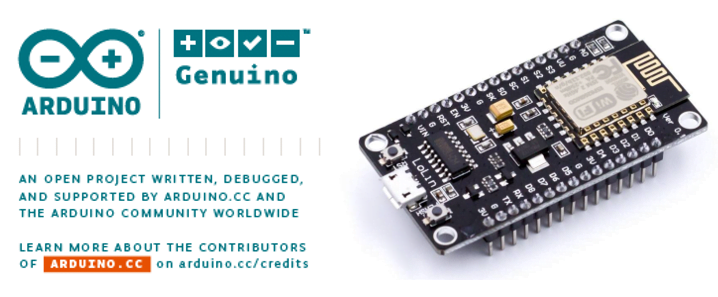
ESP8266 is a Wi-Fi module suitable for IoT and home automation projects. It allows you to control inputs and outputs like you would with an Arduino series of boards, but with Wi-Fi. Therefore, it is well suited for home automation/IoT applications.
Comparing the ESP8266 with other Wi-Fi solutions on the market, it is an excellent choice for most “Internet of Things” projects. In this article, we’ll introduce the basic concepts of the ESP8266 board, it’s pinout, and programming examples.
Introduction to ESP8266
ESP8266 is a powerful and versatile Wi-Fi enabled microcontroller that has gained popularity in the world of electronics and IoT (Internet of Things). Developed by Espressif Systems, the ESP8266 offers a cost-effective solution for connecting devices to the internet and enabling them to communicate with each other. It features a built-in Wi-Fi module, a powerful processor, and GPIO pins for connecting external components. The ESP8266 can be programmed using various programming languages, making it accessible to both beginners and experienced developers. Its low power consumption and compact size make it ideal for a wide range of applications, including home automation, wireless sensor networks, and smart devices. For example, the ESP8266 can be used to create a smart thermostat that allows users to control the temperature of their homes remotely.
ESP8266 Pinout
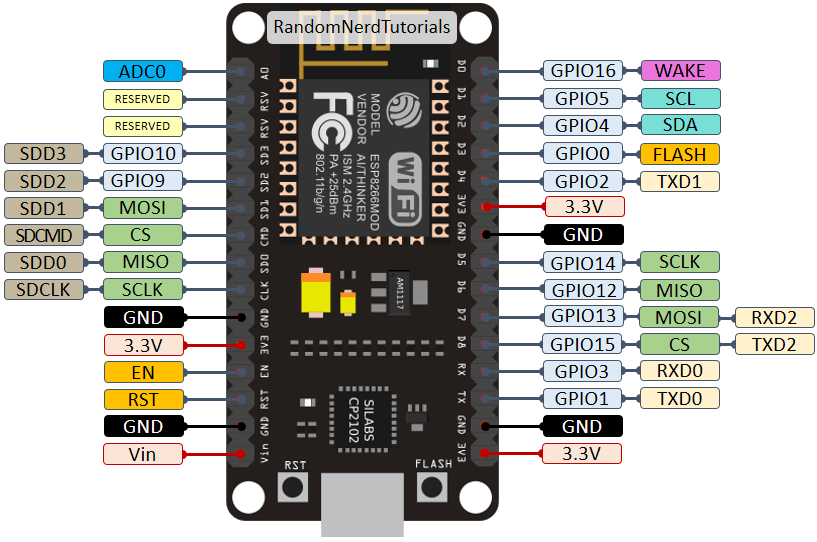
In the pin diagram, some pins have other uses besides GPIO. For example, the D1 pin is not only GPIO5, but also an SCL interface, which can be connected to the corresponding SCL pin of the LCD screen.
The following table shows the correspondence between the labels on the onboard identification and GPIO numbers, and which pins are best used in projects, and which pins require caution. Pins highlighted in green are ready for use. Those highlighted in yellow can be used, but require attention as they may have unexpected behavior, mainly at startup. Pins highlighted in red are not recommended for use as inputs or outputs.
| Label | GPIO | Input | Output | Notes |
|---|---|---|---|---|
| D0 | GPIO16 | No Interrupt | No PWM or I2C support | HIGH at boot used to wake up from deep sleep |
| D1 | GPIO5 | OK | OK | Commonly used as SCL (I2C) |
| D2 | GPIO4 | OK | OK | Commonly used as SDA (I2C) |
| D3 | GPIO0 | Pull-up | OK | Connected to FLASH button, boot fails if pulled LOW |
| D4 | GPIO2 | Pull-up | OK | HIGH at boot connected to on-board LED, boot fails if pulled LOW |
| D5 | GPIO14 | OK | OK | SPI (SCLK) |
| D6 | GPIO12 | OK | OK | SPI (MISO) |
| D7 | GPIO13 | OK | OK | SPI (MOSI) |
| D8 | GPIO15 | Pull-down | OK | SPI (CS) Boot fails if pulled HIGH |
| RX | GPIO3 | OK | RX | HIGH at boot |
| TX | GPIO1 | TX | OK | HIGH at boot debug output at boot, boot fails if pulled LOW |
| A0 | ADC0 | Analog | X | Analog pin |
How to Program ESP8266 with Arduino IDE?
There are many ways to program ESP8266:
- Use Arduino IDE to develop, follow the development style of Arduino, easy to use;
- Use ESP8266 official SDK development;
- Use MicroPython to develop, follow the programming style of Python (this method needs to burn a special firmware for the board first);
Here we choose the first one, because Arduino programming is simple and easy to operate.
Step 1: Install the Arduino IDE
Download IDE from Arduino official website: https://www.arduino.cc/en/software. The version I am using now is Arduino IDE 1.8.3. (Noted that the latest version of Arduino IDE 2.1.1 cannot install the ESP8266 resource package online.)
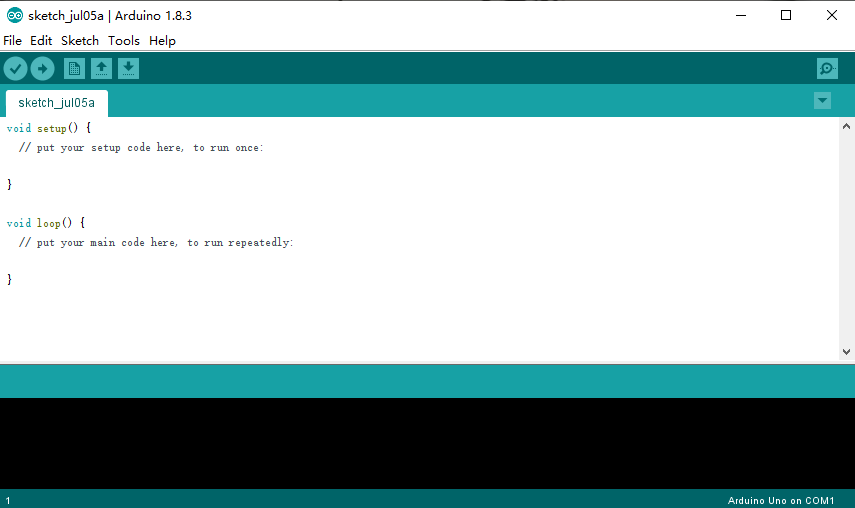
Step 2: Install the ESP8266 Package
Because the Arduino IDE is used for the Arduino development board by default, there are only relevant development resources for the Arduino development board by default. To use ESP8266 in Arduino IDE, we need to manually install the ESP8266 development package. There are two installation methods: online installation and offline package installation, here we choose the first one.
First, find the “File -> Preferences” in the Arduino IDE menu:
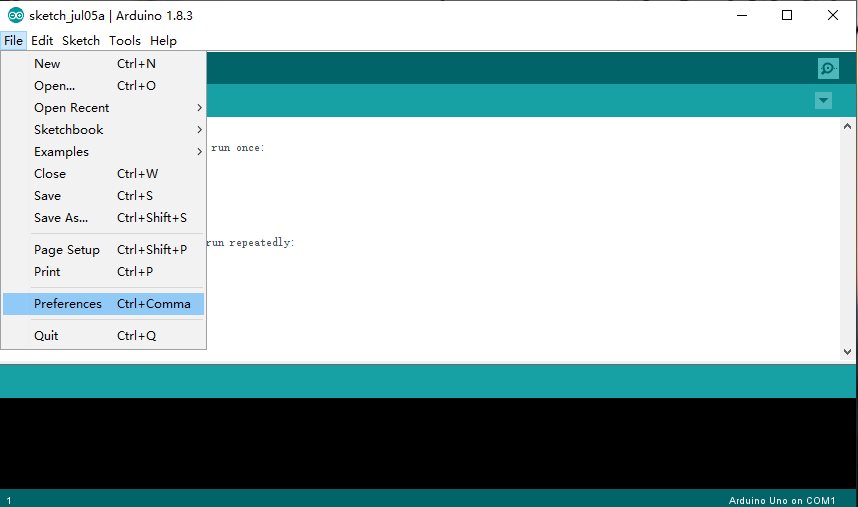
And then, enter the below link in the “Additional Boards Manager URLs”:
http://arduino.esp8266.com/stable/package_esp8266com_index.json
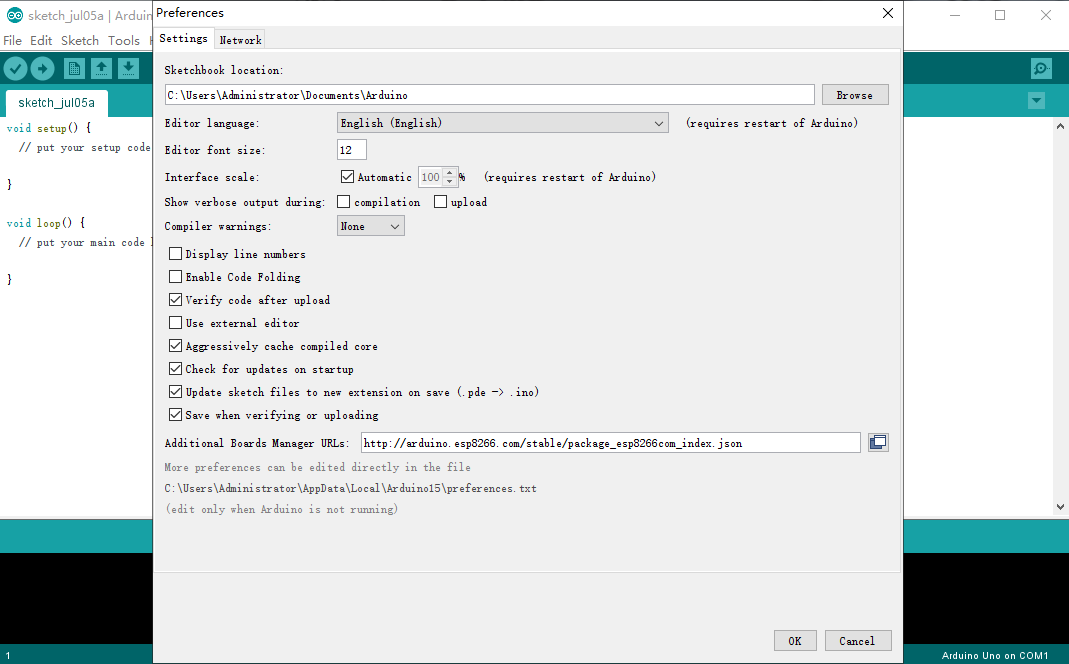
Next, click to open the: Tools -> Board -> Board Manager.
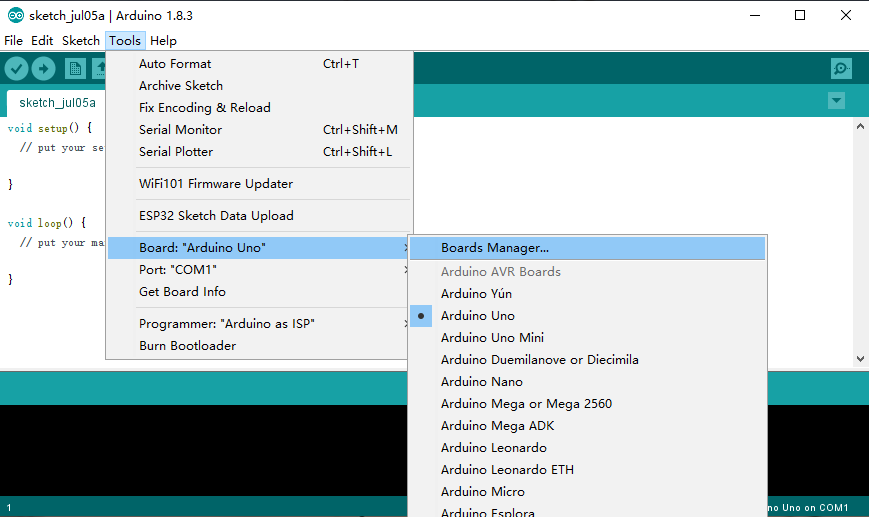
In the field, input and search “esp8266”, you will see an esp8266 package, click “Install” to start online installation.
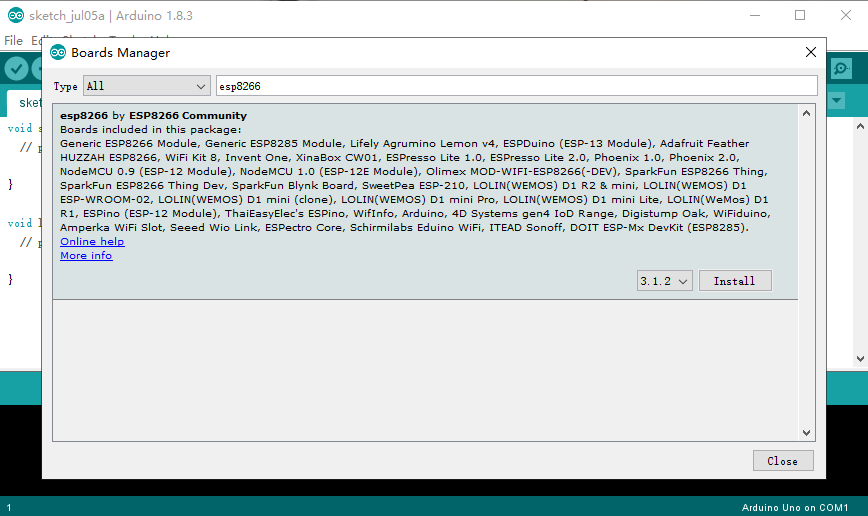
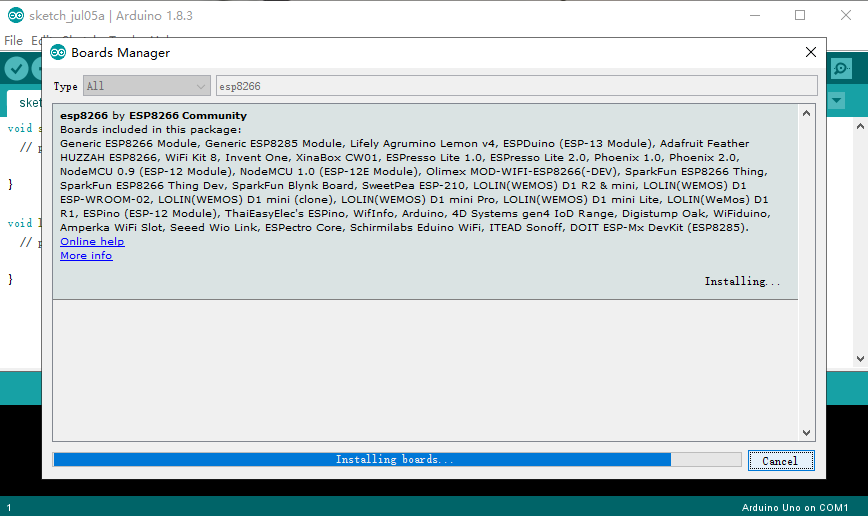
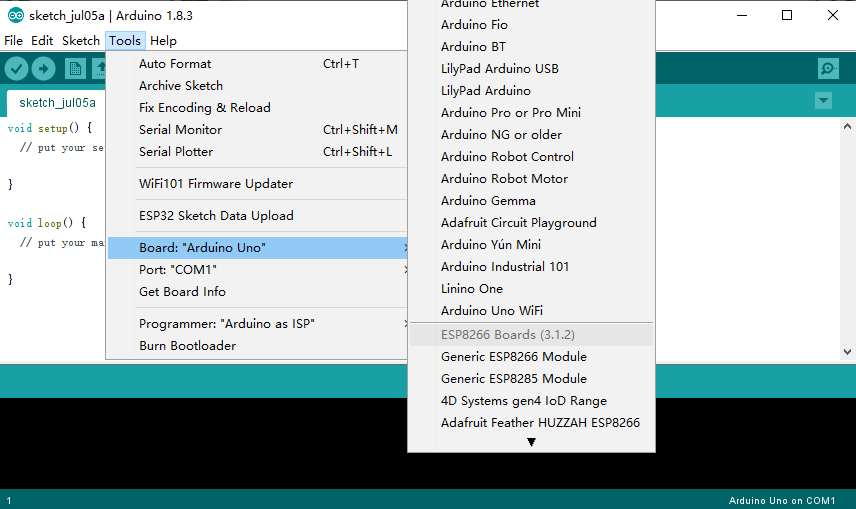
After the installation is complete, you can find all resources about the esp8266 board in the “Tools->Board” menu.
Step 3: ESP8266 Programming
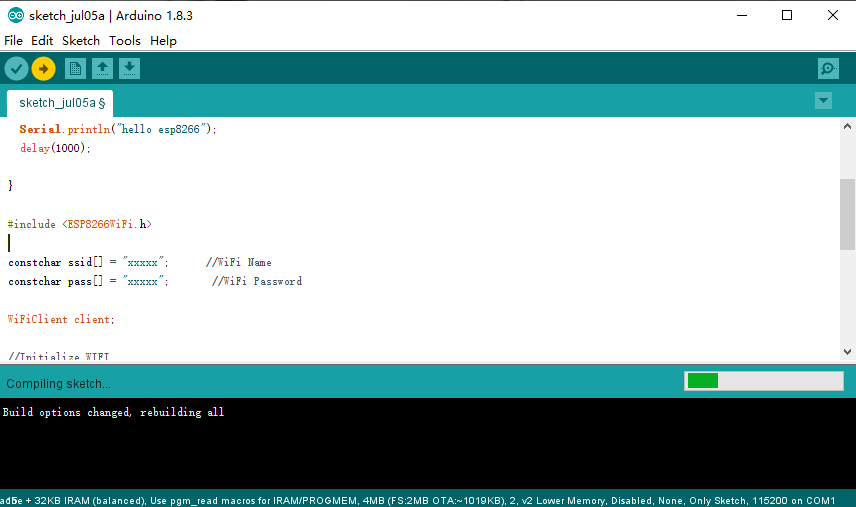
Here we write a simple network connection test program for the ESP8266 board, the program code is as follows:
					void setup() {
  Serial.begin(9600);
  Serial.println("esp8266 test");
  initWiFi();

}

void loop() {
  Serial.println("hello esp8266");
  delay(1000);

}

#include <ESP8266WiFi.h>

constchar ssid[] = "xxxxx";      //WiFi Name
constchar pass[] = "xxxxx";       //WiFi Password

WiFiClient client;

//Initialize WIFI
void initWiFi()
{
   Serial.print("Connecting WiFi...");
   WiFi.mode(WIFI_STA); //Configure WIFI as Station mode
   WiFi.begin(ssid, pass); //Incoming ssid and password of WIFI hotspot
   while (WiFi.status() != WL_CONNECTED) //Waiting for successful connection
   {
     delay(500);
     Serial. print(".");
   }

   Serial.println("");
   Serial.println("WiFi connected");
   Serial.println("IP address: ");
   Serial.println(WiFi.localIP()); //print your own IP address
}
Notes:
The setup function is used for serial port initialization. For example, “Serial.begin(9600);” means that the initial baud rate of the serial port is 9600.
The loop function is similar to the while(1){} in the main function in the development of a single-chip microcomputer, where we can write program logic codes.
To use the WIFI function, you need to include the header file “ESP8266WiFi.h”.
The process of WIFI initialization includes 3 steps:
- Configure WIFI to Station mode, that is, our ESP8266 is used as a WIFI device;
- Pass in the ssid and password of the WIFI hotspot, so that ESP8266 can connect to the hotspot;
- Read the WIFI connection status and wait for the connection to be successful.
Select the model and serial port number of your ESP8266 development board:
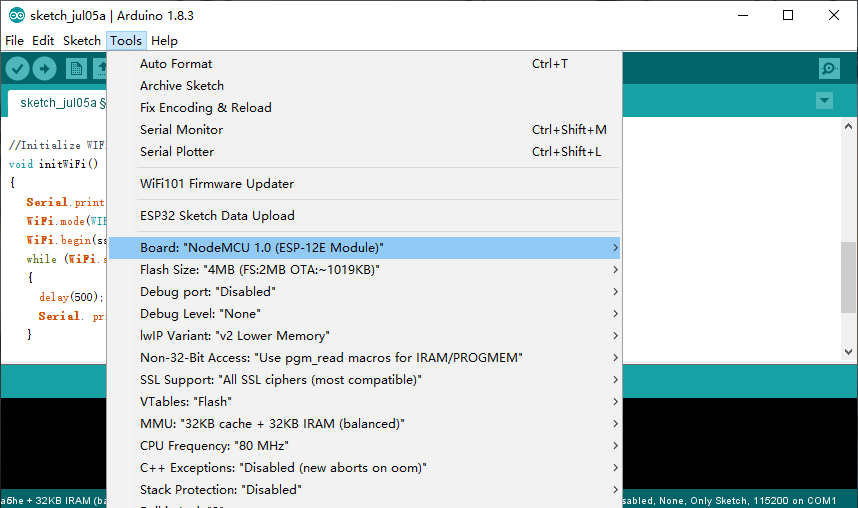
Now, we can compile and burn the code into the ESP8266WiFi board.
