Preparing for Code Refresh
Verify Arduino IDE Installation and Configuration
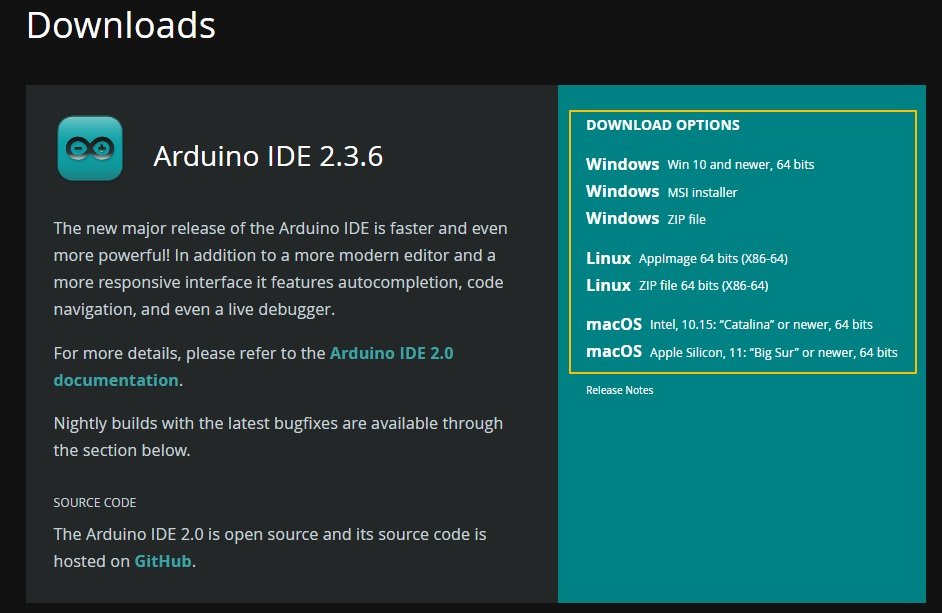
For example, if you’re using an Arduino Uno with a CH340 – based USB – to – serial adapter on Windows, and the port isn’t showing up in the IDE, you can download the CH340 drivers from the manufacturer’s website. After installation, restart the computer, and the port should be detected.
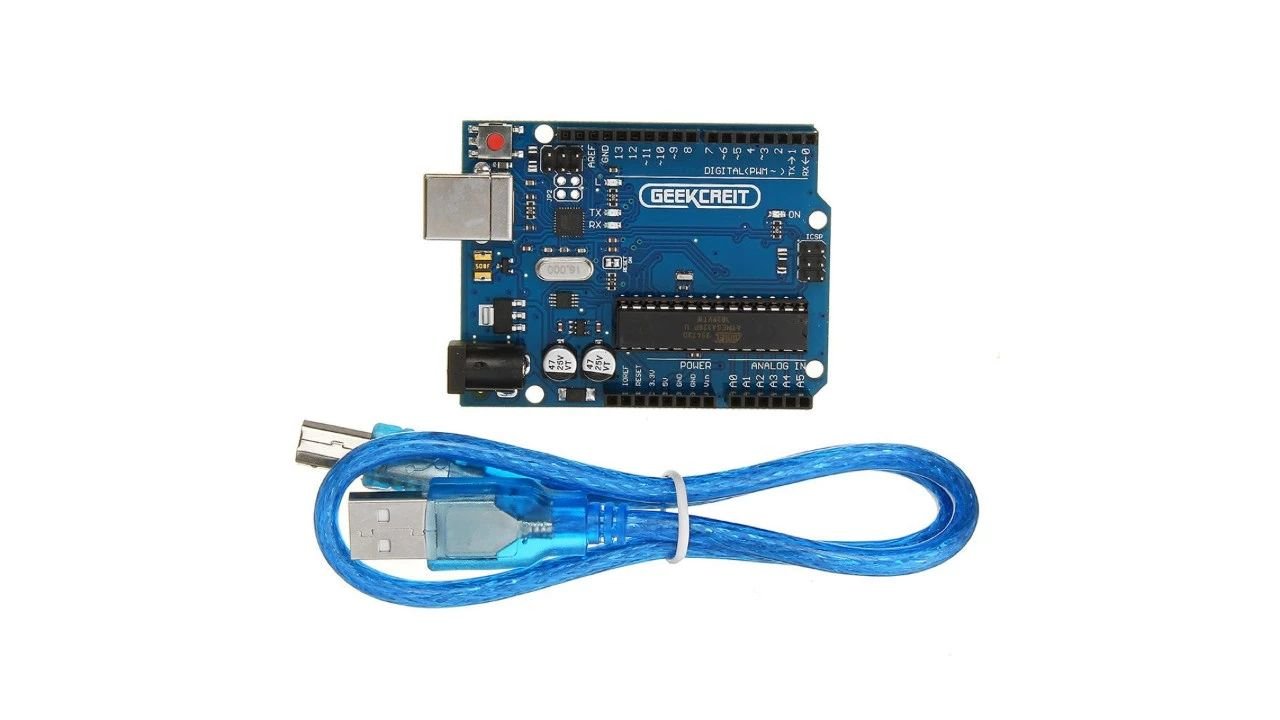
Hardware Connections
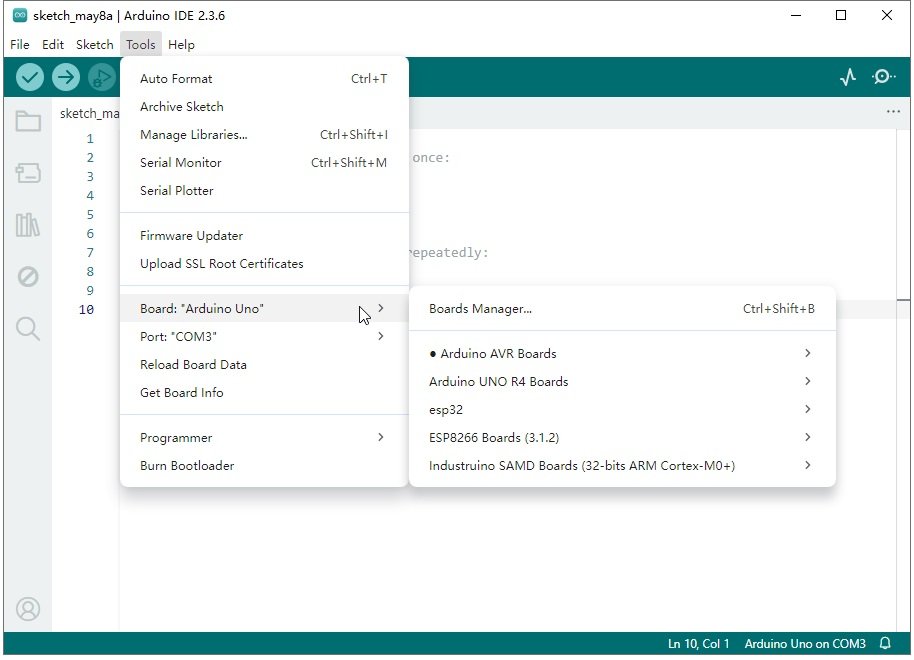
Select the Correct Board and Port
Step-by-Step Guide to Refreshing Board Code
Write or Open Your Sketch
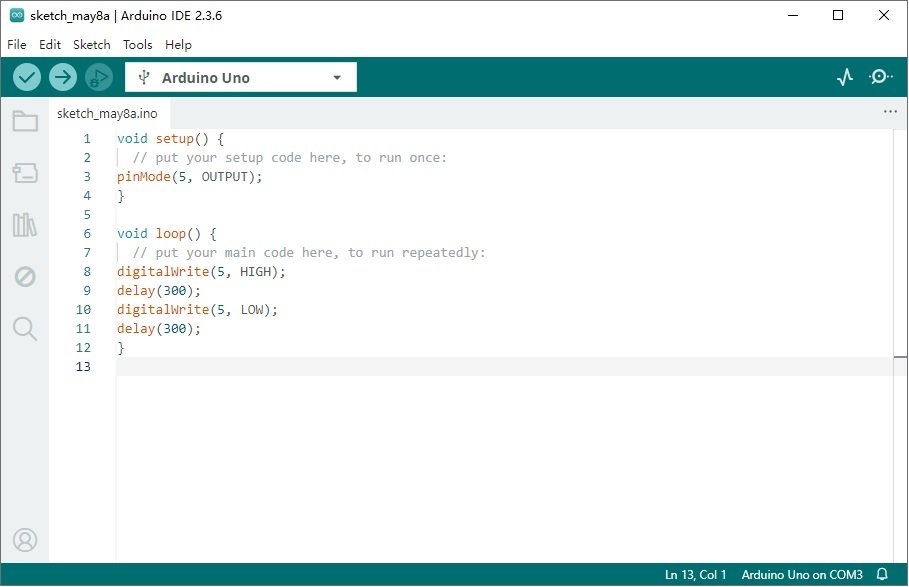
A “sketch” is what Arduino calls its code files. Start by creating a new sketch (you can do this by clicking the “New” button in the toolbar, which looks like a blank page, or by going to File > New). If you already have a project you want to work on, open an existing one (click the “Open” button, similar to a folder icon, or navigate to File > Open). For those looking to use a specific example to understand the code – upload process, consider this custom LED – blinking code. When you create a new sketch, paste in the following:
					void setup() {
  // put your setup code here, to run once:
  pinMode(5, OUTPUT);
}

void loop() {
  // put your main code here, to run repeatedly:
  digitalWrite(5, HIGH);
  delay(300);
  digitalWrite(5, LOW);
  delay(300);
}
setup function configures pin 5 as an output, enabling it to provide current. The loop function repeatedly sets pin 5 to HIGH (producing 5V, turning the LED on) for 300 milliseconds, then to LOW (0V, turning the LED off) for another 300 milliseconds.setup() function runs once when the board is powered on or reset, setting the LED – connected pin 5 as an output. The loop() function runs continuously, creating a blinking effect. This custom example is ideal for verifying that your board and connected circuit respond to code uploads, offering a personalized twist on the traditional Blink example with a specific pin – based configuration for your project’s needs.Compile the Sketch (Verify)
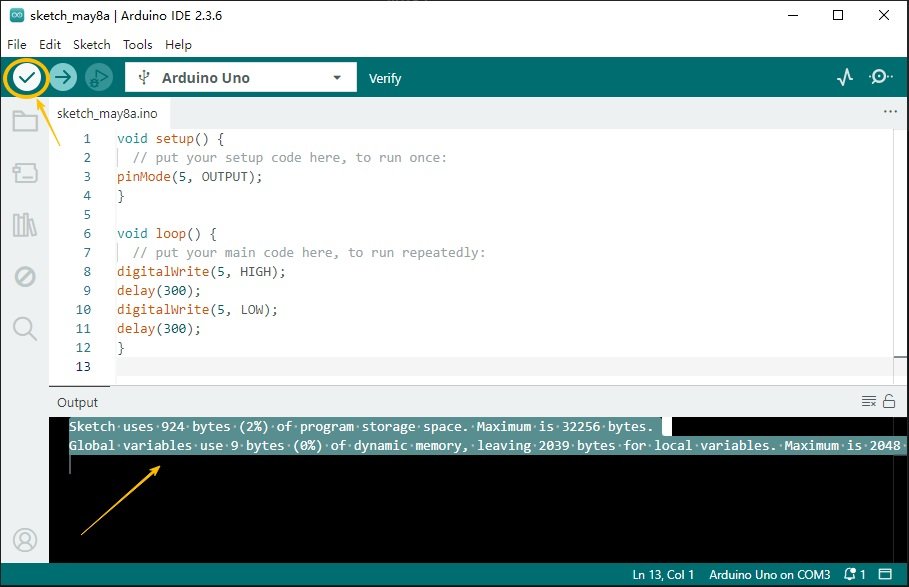
I remember when I was first learning Arduino, I made a simple mistake of not putting a semicolon at the end of a line in my code. When I clicked the Verify button, the IDE immediately pointed out the error, highlighting the line where the problem occurred. It took me a few minutes to spot the missing semicolon, but after fixing it, the compilation was successful.
Upload the Code to the Board
Verify Functionality
Common Issues and Troubleshooting
“Port Not Found” or Serial Port Errors
- Reconnect the USB cable and try a different port. Sometimes, the connection may be loose, or the port itself could have issues. For example, I once spent an hour troubleshooting a “port not found” error, only to realize that the USB cable wasn’t fully inserted. A simple reconnection fixed the problem.
- Install or update drivers: Use Arduino’s official drivers, or for third – party boards, download manufacturer – specific drivers (e.g., Silicon Labs CP2102 drivers for ESP32). If you’re using an ESP32 board with a Silicon Labs CP2102 USB – to – UART bridge, and the port isn’t detected, downloading and installing the latest CP2102 drivers can solve the issue.
- On macOS/Linux, ensure you have permission to access serial ports (run ls /dev/tty* to list ports and check permissions). In some cases, the user may not have the proper permissions to access the serial port. You can add your user to the dialout group (on Linux) or adjust the permissions appropriately to gain access.
Compilation Errors: “undefined reference” or “expected ‘;’ before…”
- Double – check for typos, missing parentheses, or incorrect library includes. A simple typo like writing int main() instead of void setup() in an Arduino sketch can lead to compilation errors. Also, make sure all parentheses, brackets, and curly braces are properly paired.
- Ensure all used libraries are installed via Sketch > Include Library > Manage Libraries (for external libraries) or are part of the core Arduino libraries. If you’re using a library like the DHT library for temperature and humidity sensors, and you get an “undefined reference” error related to functions in that library, it’s likely that the library isn’t installed correctly or isn’t included properly in your sketch.
Upload Fails Mid - Process (e.g., “Uploading… 10%”)
- Press the reset button on your board right as the IDE starts uploading (you’ll see “Uploading” in the console). This resets the board into bootloader mode, which accepts new code. Many Arduino boards require the bootloader to be in the correct state to accept an upload. By pressing the reset button at the right time, you can ensure the board is ready to receive the new code.
- Disable antivirus or firewall software temporarily, as they may interfere with serial communication. Some security software can block the serial communication between the IDE and the Arduino board, thinking it’s a potential security threat. Temporarily disabling such software can often resolve the upload issue.
- For older boards like Arduino Uno, ensure the bootloader is intact; re – burn it using Tools > Burn Bootloader (requires an external programmer for some cases). If the bootloader on your Arduino Uno has become corrupted, you may need to re – burn it. In some cases, you’ll need an external programmer like an AVRISP mkII to perform this task.
Code Runs Briefly but Doesn’t Persist
- Confirm the correct board and port were selected during upload—accidentally targeting the wrong board (e.g., Uno instead of Mega) can cause this issue. If you have multiple Arduino boards connected or have recently changed the board you’re working with, it’s easy to select the wrong board in the IDE. Double – check the board and port settings to ensure you’re uploading to the correct device.
- Check that your sketch is saved and uploaded correctly; sometimes, unsaved changes lead to using outdated code. I once spent a long time trying to figure out why my code wasn’t working as expected after a power cycle, only to realize that I had made changes to the code but hadn’t saved them before uploading. Always make sure to save your sketch before attempting an upload.
Best Practices for Efficient Code Refreshing
To streamline your workflow and minimize errors, adopt these proven strategies:
Use Version Control for Sketches
Track code changes with tools like Git, especially for complex projects. This lets you revert to working versions if a new upload causes issues. Git is a distributed version – control system that has become the standard for developers worldwide. By initializing a Git repository in your Arduino project folder, you can record every change you make to your code.
For instance, if you’re working on a complex home – automation project with multiple sensors and actuators controlled by Arduino, and you’ve just added a new feature that’s causing the system to malfunction, you can easily go back to the previous, working state of the code. You can view the commit history, which shows all the changes you’ve made, who made them, and when. This not only helps in debugging but also in collaborating with other makers. If you’re working in a team, each member can contribute to the codebase, and Git will manage all the changes, ensuring that everyone is working with the latest and correct version of the code.
Keep Libraries and IDE Updated
Similarly, libraries play a crucial role in Arduino projects. They provide pre – written code for various functions, such as communicating with sensors or controlling motors. However, if a library is outdated, it may not work correctly with the latest Arduino board or the IDE. For example, if you’re using a DHT library to read temperature and humidity from a DHT sensor, an old version of the library might not be compatible with the latest DHT sensor models. The built – in library manager in the Arduino IDE makes it easy to update libraries. You can simply go to Sketch > Include Library > Manage Libraries, search for the library you want to update, and click the “Update” button.
Test with Minimal Code First
Document Your Setup
Refreshing Code on Third - Party Boards
Many makers use non – official Arduino boards (e.g., ESP8266, ESP32, STM32). The process differs slightly due to additional setup:
Add Board Support Packages
Third – party boards require adding their support packages to the IDE. For an ESP8266 board, go to File > Preferences in the Arduino IDE. Here, you’ll find a field labeled “Additional Boards Manager URLs”. Paste the board’s repository URL into this field.
For the ESP8266, the URL is:
http://arduino.esp8266.com/stable/package_esp8266com_index.json.
If you’re working with an ESP32 board, the URL is:
https://espressif.github.io/arduino-esp32/package_esp32_index.json
If you already have other URLs in this field (for example, if you’re using multiple third – party boards), separate them with commas.
After adding the URL, navigate to Tools > Board > Board Manager. In the Board Manager, a search bar is available. Type in the name of the board you’re using, like “esp8266” or “esp32”. Once you find the relevant package, click “Install” to add the necessary support files to your Arduino IDE. This step is crucial as it enables the IDE to recognize and communicate with your non – official board, providing the correct compilation settings and libraries specific to that board.

