Testing a circuit breaker with a multimeter is a crucial skill for electrical safety. It ensures your home’s electrical system functions properly.
Circuit breakers protect circuits from overloads and short circuits. Regular testing helps maintain this protection.
A multimeter is a versatile tool for this task. It measures voltage, current, and resistance.
This guide will walk you through the process step-by-step. You’ll learn how to test a circuit breaker safely and effectively.
Internal Components of a Circuit Breaker
A circuit breaker’s effectiveness lies in its precisely engineered internal components, which work in concert to protect electrical systems. The Trip Unit is a core component responsible for detecting faults and initiating the trip. Within the trip unit, key elements include the bimetallic strip and the solenoid. The bimetallic strip is designed to detect overcurrents; it heats up and bends, triggering the trip mechanism when a dangerous level of current is present. Similarly, the solenoid, an electromagnet, responds to short circuits by creating a magnetic field that quickly activates the trip mechanism. These components ensure rapid disconnection of the power supply during faults, preventing damage to wiring and appliances.
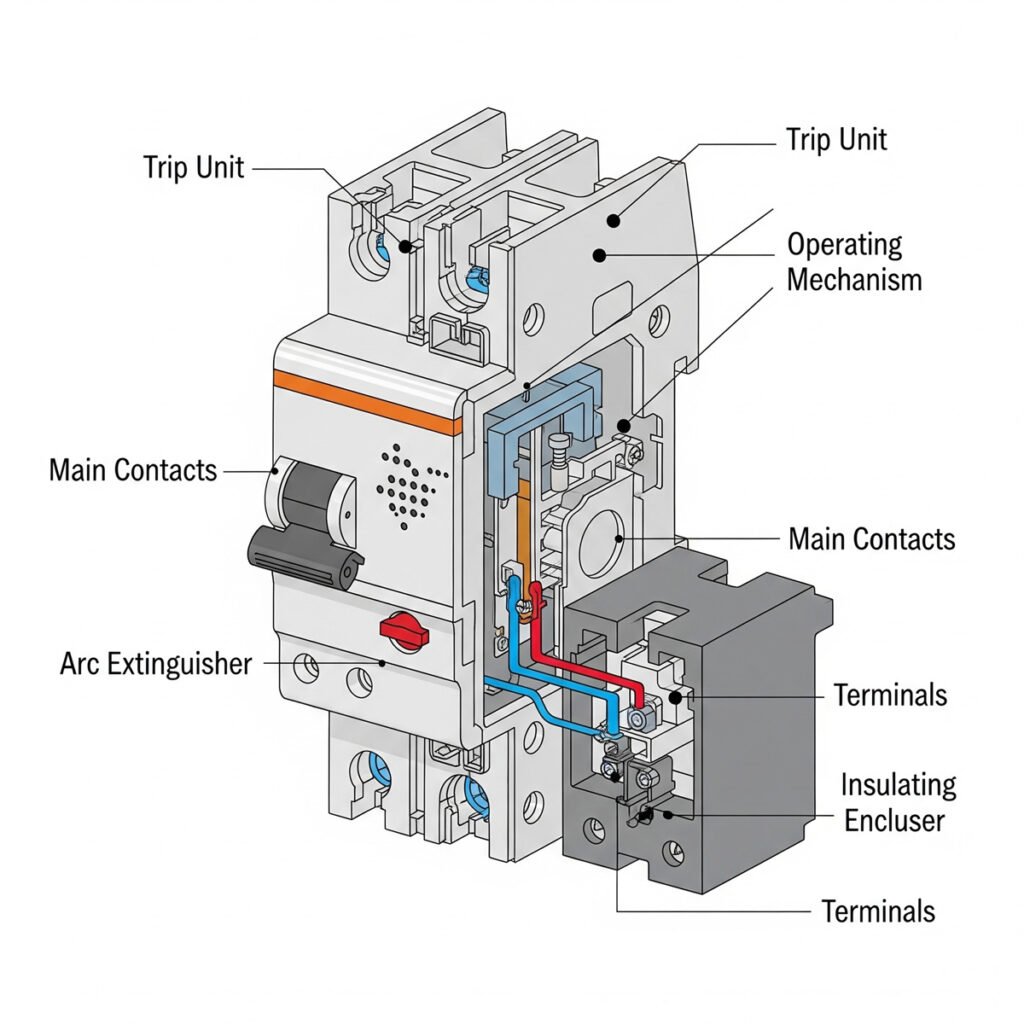
The Operating Mechanism controls the opening and closing of the circuit breaker. This mechanism directly manipulates the Main Contacts, which are crucial for establishing or interrupting the electrical current flow. When a fault occurs and the main contacts separate, an electrical arc can form; the Arc Extinguisher is specifically designed to rapidly extinguish this arc, preventing damage and ensuring safe operation. All these critical internal components are housed within an Insulating Enclosure, which provides electrical insulation and physical protection. Finally, the Terminals serve as the connection points for the external electrical wiring, allowing the circuit breaker to be integrated into the electrical system.
Why Test Circuit Breakers?
Testing circuit breakers is vital for uncovering potential electrical issues, and regular testing helps ensure optimal performance. Circuit breakers can deteriorate over time due to constant use or environmental factors.
Recognizing signs of a failing circuit breaker is essential. These signs include frequent tripping, visible damage or corrosion, and unusual buzzing sounds. Ignoring these indicators can lead to more severe electrical issues. Conducting regular tests helps identify and correct issues early, avoiding costly repairs.
If a breaker is constantly tripping, it might signal an underlying problem. Consistent maintenance enhances safety and reliability. Regular circuit breaker testing should be part of a standard household safety procedure to ensure electrical systems remain safe and efficient.
Tools and Essential Safety Precautions for Circuit Breaker Testing
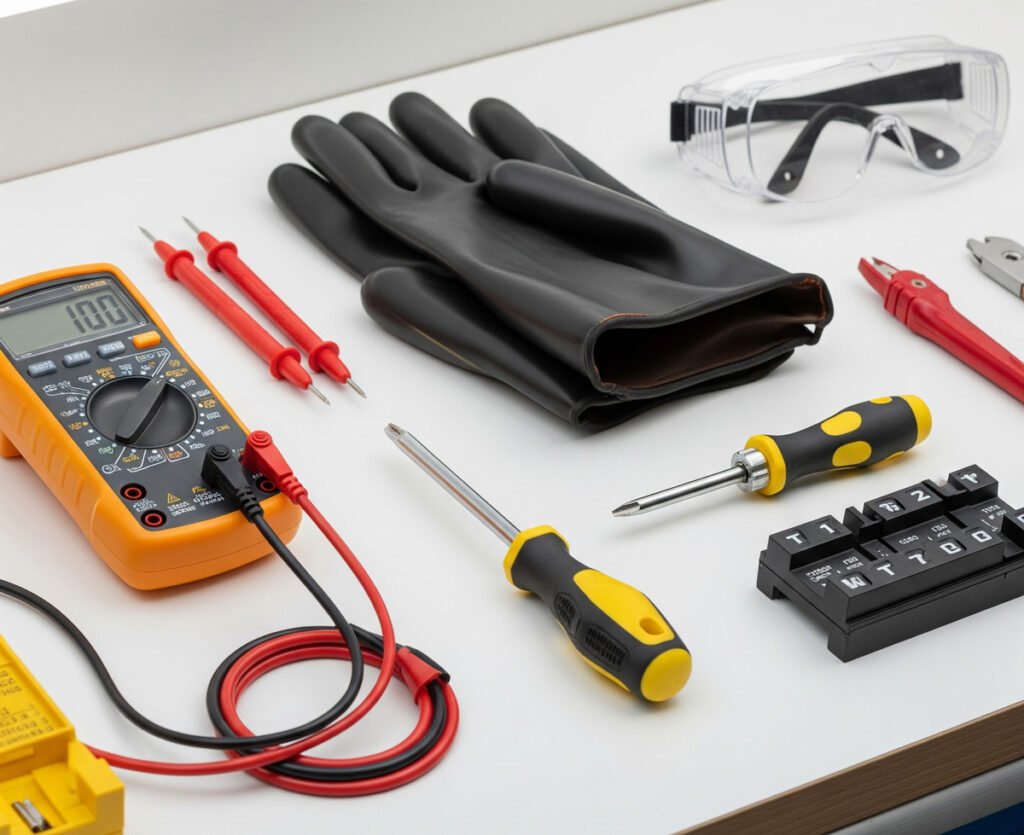
Before testing a circuit breaker, gather the necessary tools and equipment. The right tools ensure accurate and safe testing. A multimeter is the primary tool required. Make sure it is capable of measuring both voltage and resistance.
Other essential items include:
- Insulated gloves
- Insulated screwdriver
- Safety goggles
These tools and gear enhance both safety and efficiency during the testing process.
Always begin by turning off the main power supply to prevent any risk of electric shock. Before use, consistently check that your multimeter is functioning correctly and ensure the durability of all tools to prevent accidents.
Additionally, confirm the testing area is well-lit to minimize errors and enhance visibility.
Finally, familiarize yourself with the layout of the electrical panel; correct labeling will help you quickly identify and access the necessary circuit breakers. If uncertain about any step, always consult a professional to avoid mistakes.
Step-by-Step Guide to Test a Circuit Breaker
Proper testing can be straightforward with the right approach, but ensure all steps are followed carefully for accurate results, beginning with safety measures and appropriate tools.
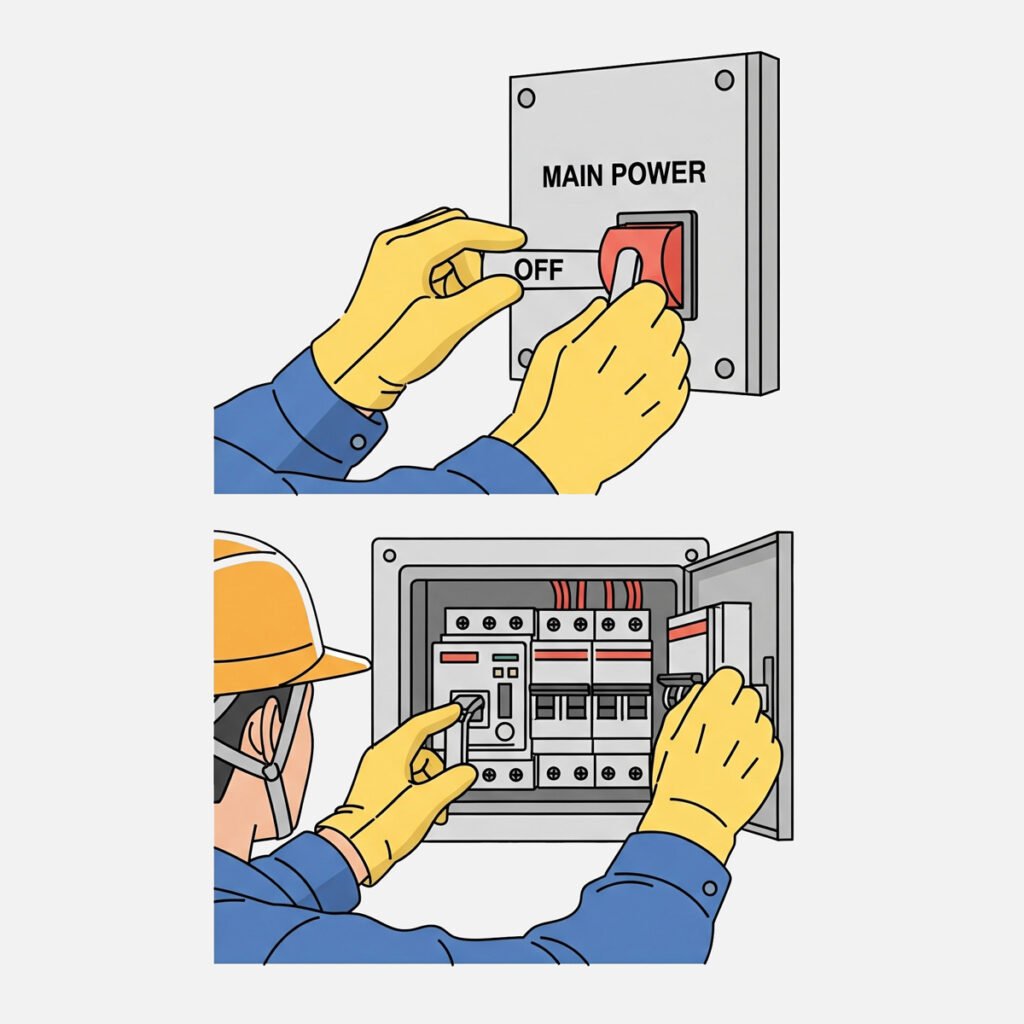
Step 1: Power Down and Access the Breaker Panel
First, turn off the main power to avoid shocks and ensure the power is fully cut before proceeding. Next, locate the breaker panel and carefully remove the cover to expose the breakers, being mindful of loose wires.
Step 2: Set Up Your Multimeter Correctly
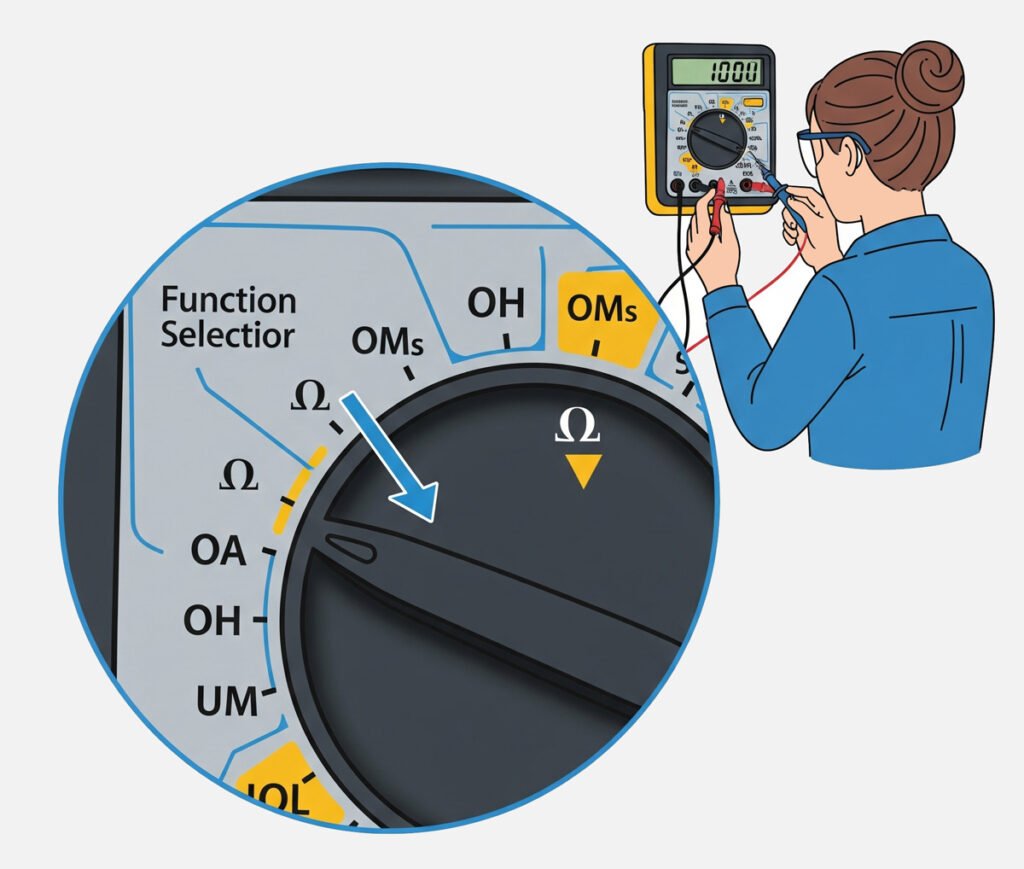
Configure your multimeter for the task by setting it to the correct mode, usually resistance or continuity. Ensure accuracy by choosing the correct measurement type, checking the multimeter’s battery, and confirming probe connections. Handle the probes with care to avoid damage and ensure the right settings are used for your specific test.
Step 3: Test for Voltage at the Circuit Breaker
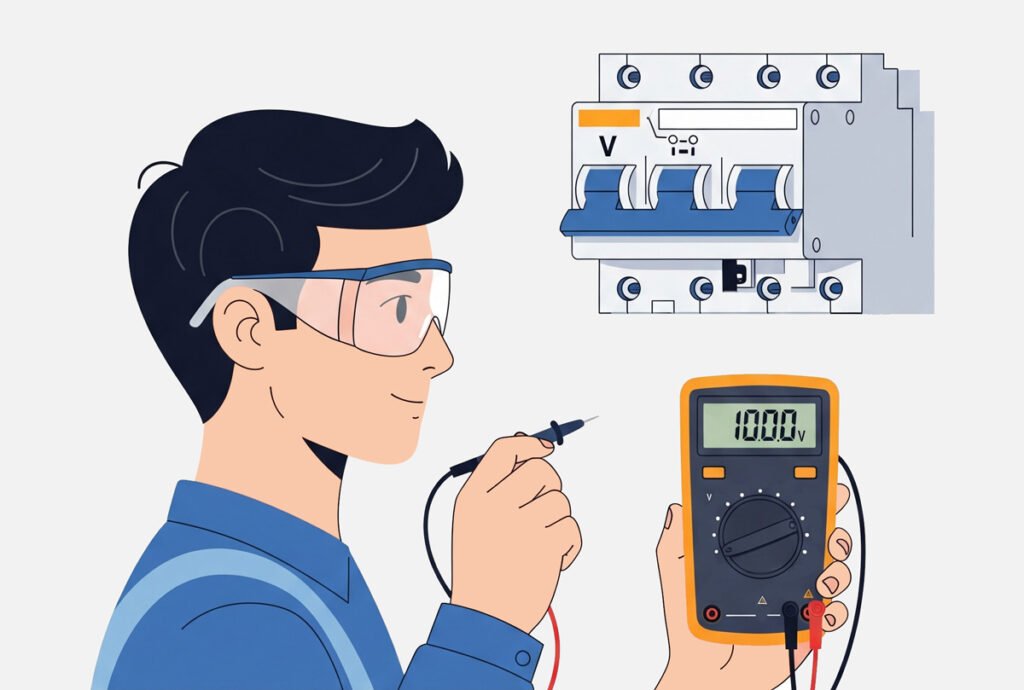
Switch your multimeter to the voltage testing mode to check if voltage passes through the breaker. Connect probes to the breaker terminals, check for expected voltage levels, and ensure readings match known system values. If the voltage readings are off, there might be an issue with the breaker’s function.
Step 4: Test for Continuity or Resistance
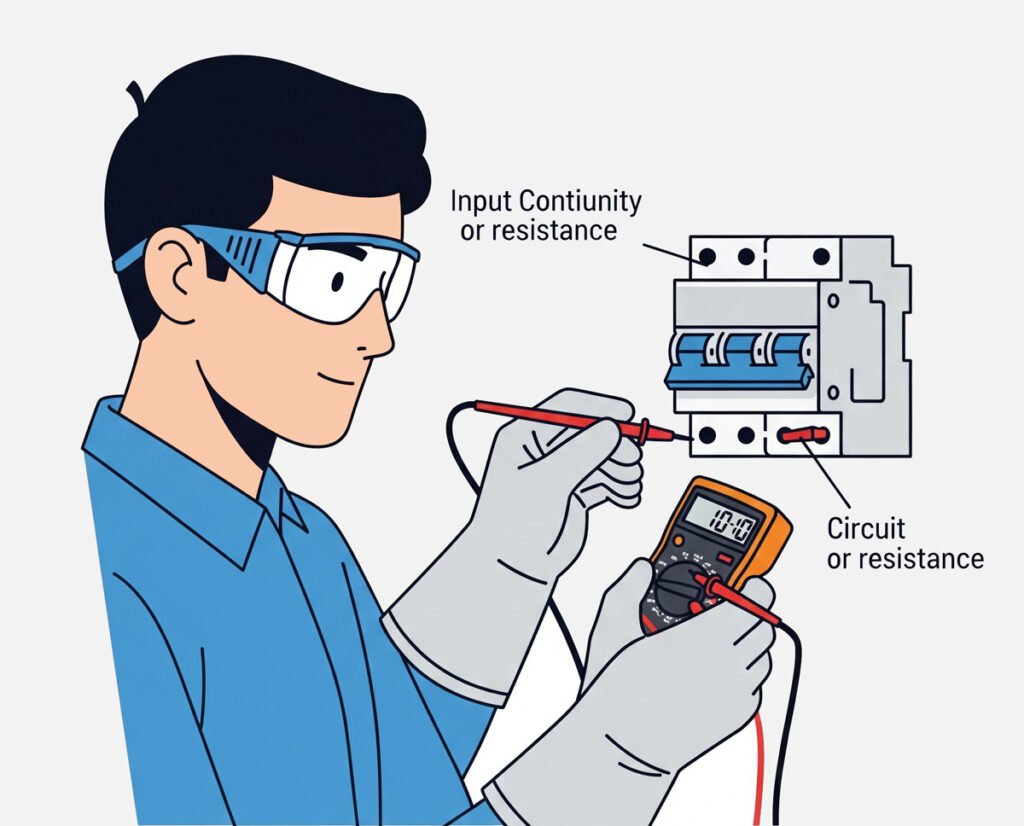
Now, switch to continuity or resistance testing to check if the circuit breaker closes the circuit fully. Set the multimeter to continuity or resistance, place probes on the breaker’s output and input, and listen for a beep or check for low resistance. If resistance is high or there’s no continuity, the breaker may not function correctly.
Step 5: Interpret the Multimeter Readings
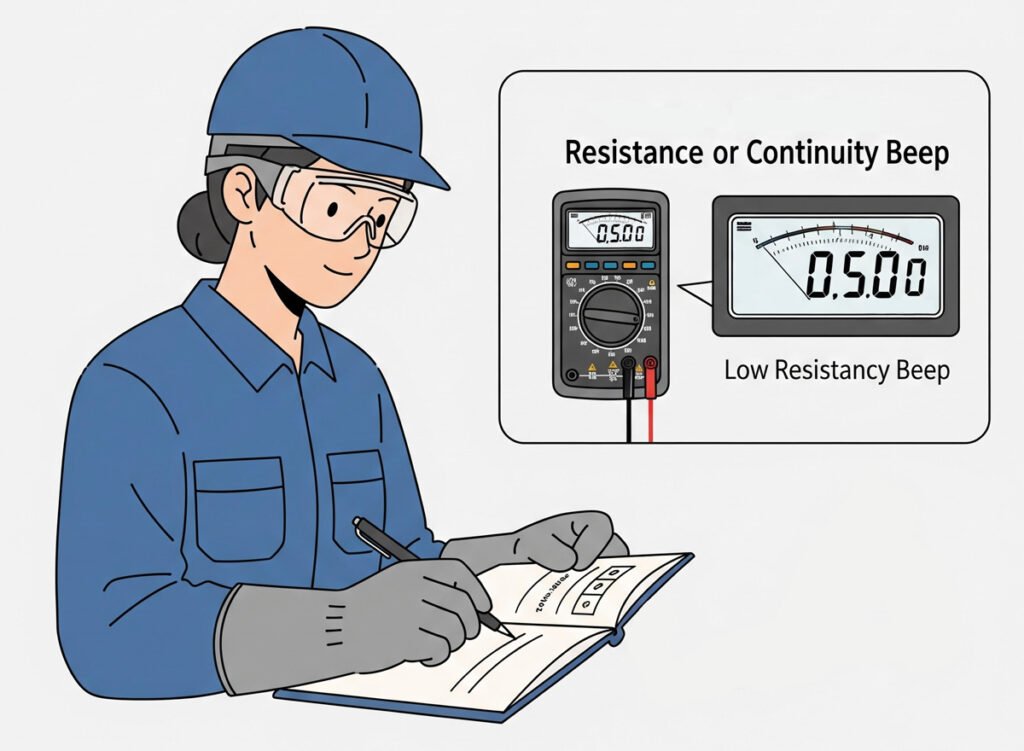
Understanding the readings is key; low resistance or a beep indicates a good breaker. Low resistance means the breaker functions, while high resistance or no beep indicates a possible fault. Document readings for future reference. If unsure, consult an expert or consider replacing the breaker for safety.
Circuit Breaker Troubleshooting
When a circuit breaker fails a test, it signals potential issues. Assess whether the problem stems from wiring faults or the breaker itself.
Consider these actions to troubleshoot effectively:
- Double-check all connections
- Inspect for visible damage or burn marks
- Test with a replacement breaker if available
If problems persist beyond simple fixes, consult a certified electrician. Professional help ensures safety and provides a long-term solution.
Finally, document any abnormalities you find. Tracking can help identify patterns and prevent future electrical hazards.
Tips for Maintaining Circuit Breakers
Routine maintenance enhances the lifespan of circuit breakers. It also ensures the safety of your electrical system, safeguarding against potential hazards.
Here are some key maintenance tips:
- Schedule regular inspections
- Clean dust and debris around the breakers
- Check for signs of wear or corrosion
Additionally, monitor for frequent tripping, which indicates other issues. Addressing small problems prevents significant electrical failures.
Frequently Asked Questions
How often should I test my circuit breakers?
Regular testing is crucial to maintain electrical safety. Circuit breakers require regular checks to function correctly, and these checks should be part of your home maintenance routine. Scheduling regular inspections is a key maintenance tip.
What multimeter setting should I use?
When testing a circuit breaker, you should usually set your multimeter to measure resistance or continuity. For voltage testing, switch to voltage testing mode. For continuity or resistance testing, set the multimeter to continuity or resistance mode.
Can I test a breaker myself, or should I hire a professional?
While this guide provides step-by-step instructions on how to test a circuit breaker safely and effectively , if you are unfamiliar with electrical systems, learning basic terminology can enhance your understanding. If you are uncertain about any step, consulting a professional is always wise to avoid mistakes. If problems persist beyond simple fixes, consulting a certified electrician is recommended to ensure safety and provide a long-term solution.
Conclusion
Regular circuit breaker testing ensures a safe and efficient electrical system. It helps identify potential issues before they become serious problems. By using a multimeter, you can effectively monitor your breakers’ performance, and this proactive approach protects your home and enhances safety. Do not overlook this essential maintenance task


