MPLAB X IDE is Microchip’s latest generation free integrated development environment. It incorporates a powerful, highly practical set of features that allow you to easily develop applications for Microchip’s PIC® microcontrollers and dsPIC® digital signal controllers. It is based on Oracle’s NetBeans IDE and runs on Windows®, Linux® and Mac OS X®. Its unified graphical user interface (GUI) helps integrate Microchip and third-party software and hardware development tools, providing you with high-performance application development and rich debugging capabilities.
MPLAB X IDE Features
Powerful Editor
- Colorful syntax highlighting;
- Support intelligent code completion;
- Automatic code formatting based on user-defined rules;
- Support intelligent refactoring of code;
- Instant analysis function;
Friendly Interaction
- Call graph window;
- Plug-in function extension;
- Customizable interface:
toolbars, toolbar buttons, windows and window positions, etc.
Navigation Function
- Task navigator with user-defined bookmarks:
//TODO & //FIXME; - Project-based workspace:
Multiple projects, tools and configurations, parallel debugging sessions; - Powerful navigation tools:
Go to file, go to type, go to symbol, go to header file, go to declaration, use “Ctrl+mouseover” to go to hyperlink.
File History and Issue Tracking
- Local file history feature;
- A NetBeans plug-in for version control systems is also available;
- Built-in support for Bugzilla issue tracker;
- Integrate with editor for easy issue navigation;
MPLAB X IDE Tutorial
MPLAB X IDE provides a single integrated “environment” for developing code for embedded microcontrollers. The following is a simple tutorial on using MPLAB X IDE to develop microcontroller programs.
Tools Required
- A Windows, macOS or Linux computer;
- MAPLAB X IDE, MAPLAB XC Compiler;
- PICkit2 or PICkit3 emulator;
- An PIC or AVR MCU;
Step 1: MPLAB X IDE Installation
First, download the MPLAB X IDE installation package from the MICROCHIP official website:
https://www.microchip.com/en-us/tools-resources/develop/mplab-x-ide#tabs
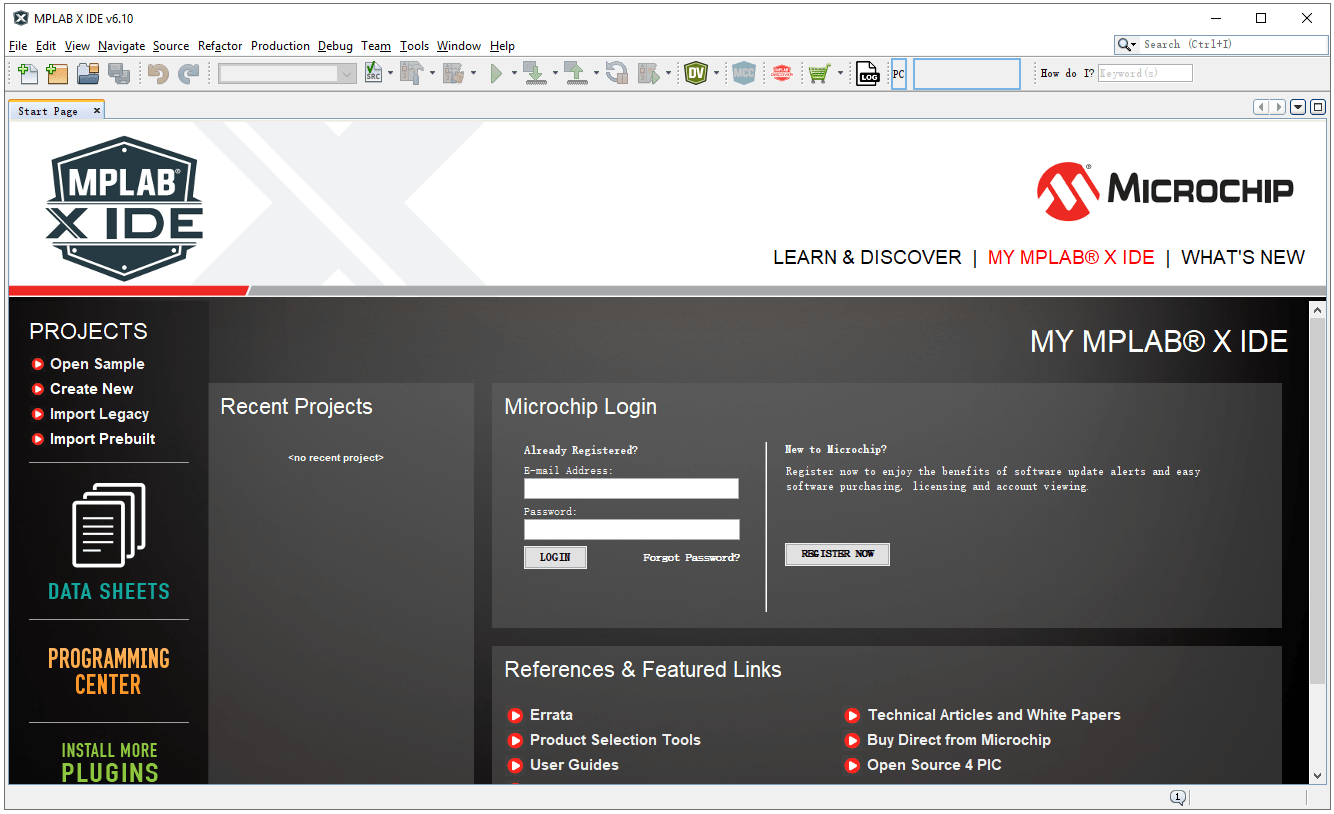
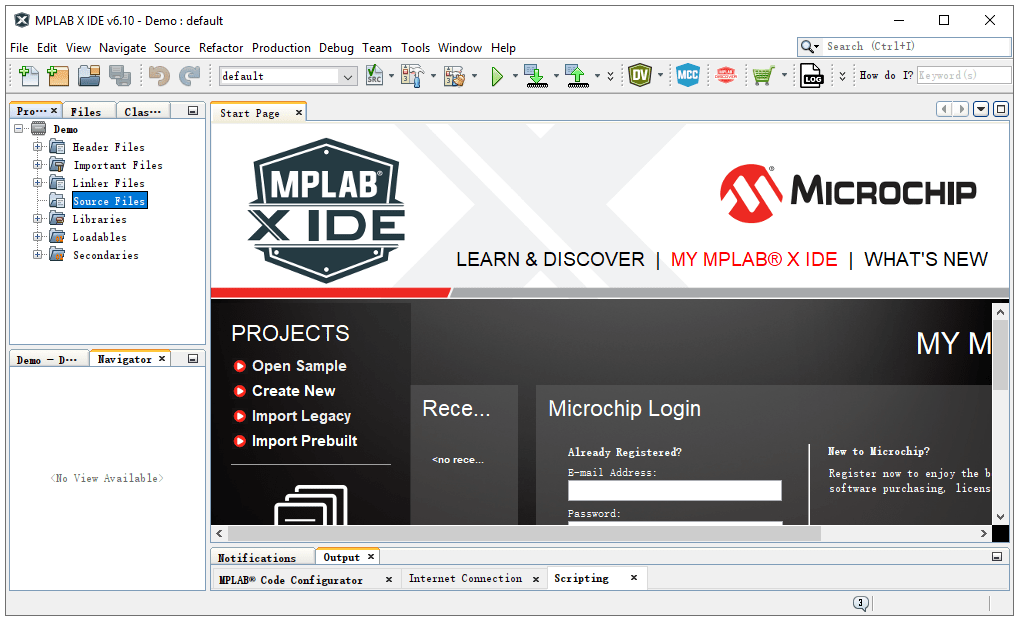
After install the MPLAB X IDE software, you can open and see the overview:
Step 2: MPLAB Compiler Installation
Combined with the MPLAB XC compiler, you can speed up your project development process. Download the compiler suitable for your project from the following link:
https://www.microchip.com/en-us/tools-resources/develop/mplab-xc-compilers
The XC8 version is suitable for 8-bit PIC MCUs, the XC16 version supports 16-bit PIC MCUs, and the XC32 version supports 32-bit PIC MCUs.
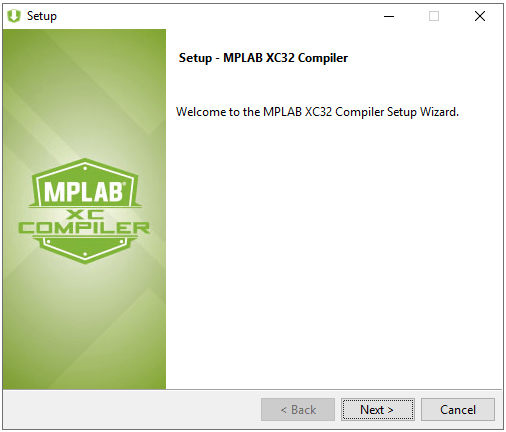
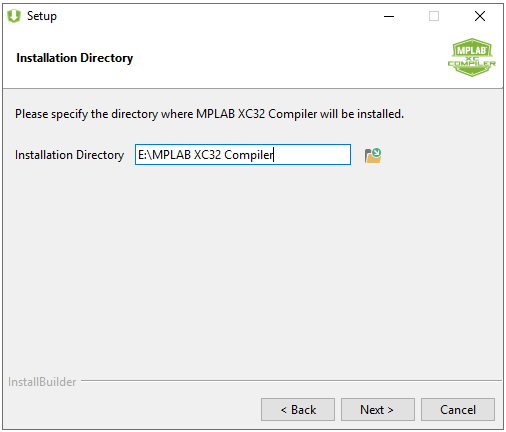
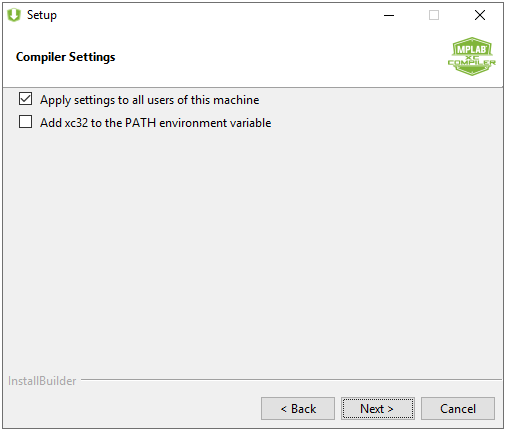
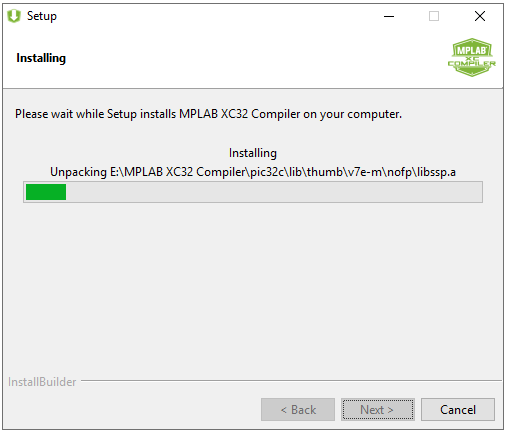
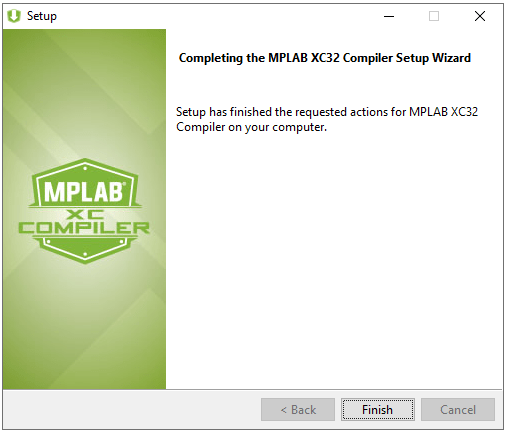
Installation process of MPLAB compiler:
Step 3: Add a Compiler to MPLAB X IDE
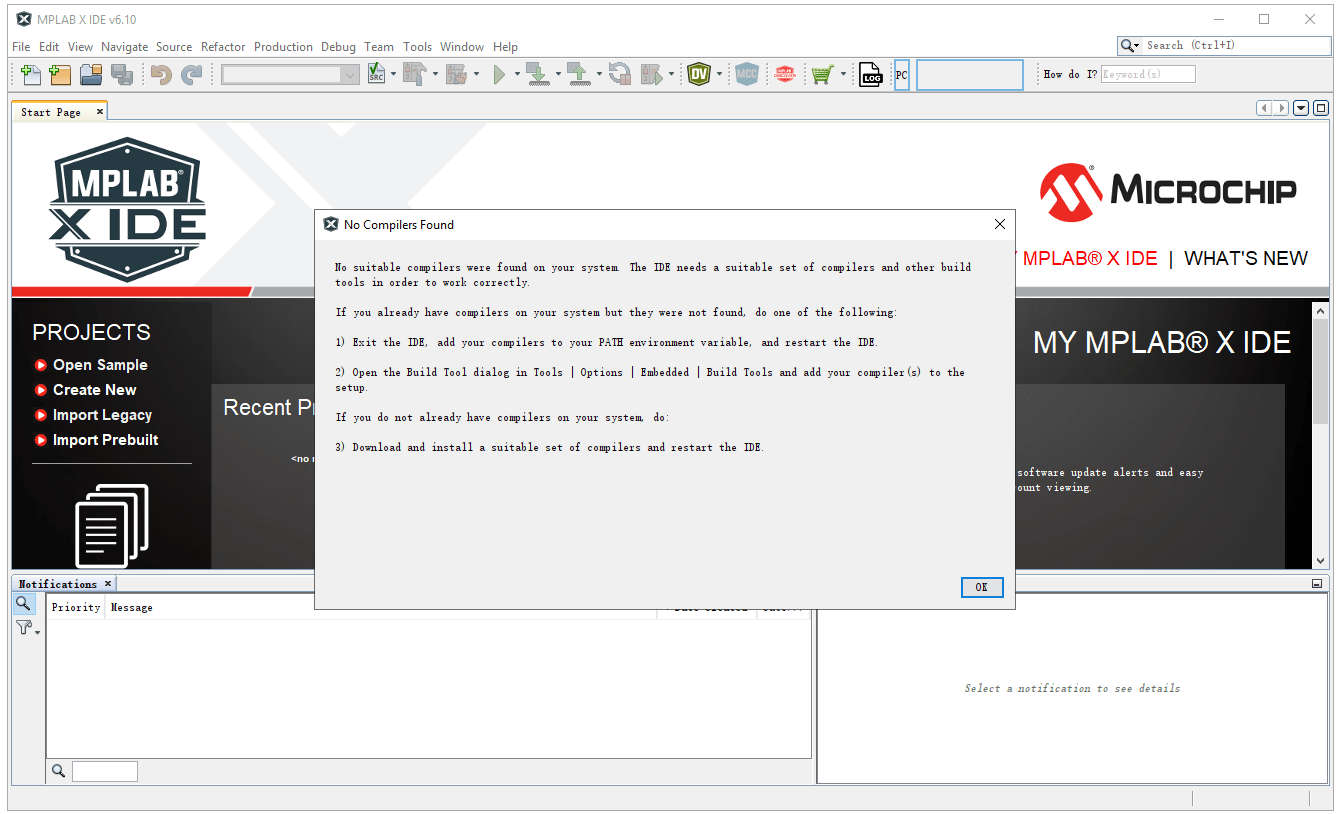
Open the MPLAB X IDE software, as shown in the figure below, prompting “No Compilers Found”. After installing the MPLAB XC compiler, we need to add it to the MPLAB X IDE software before it can be used.
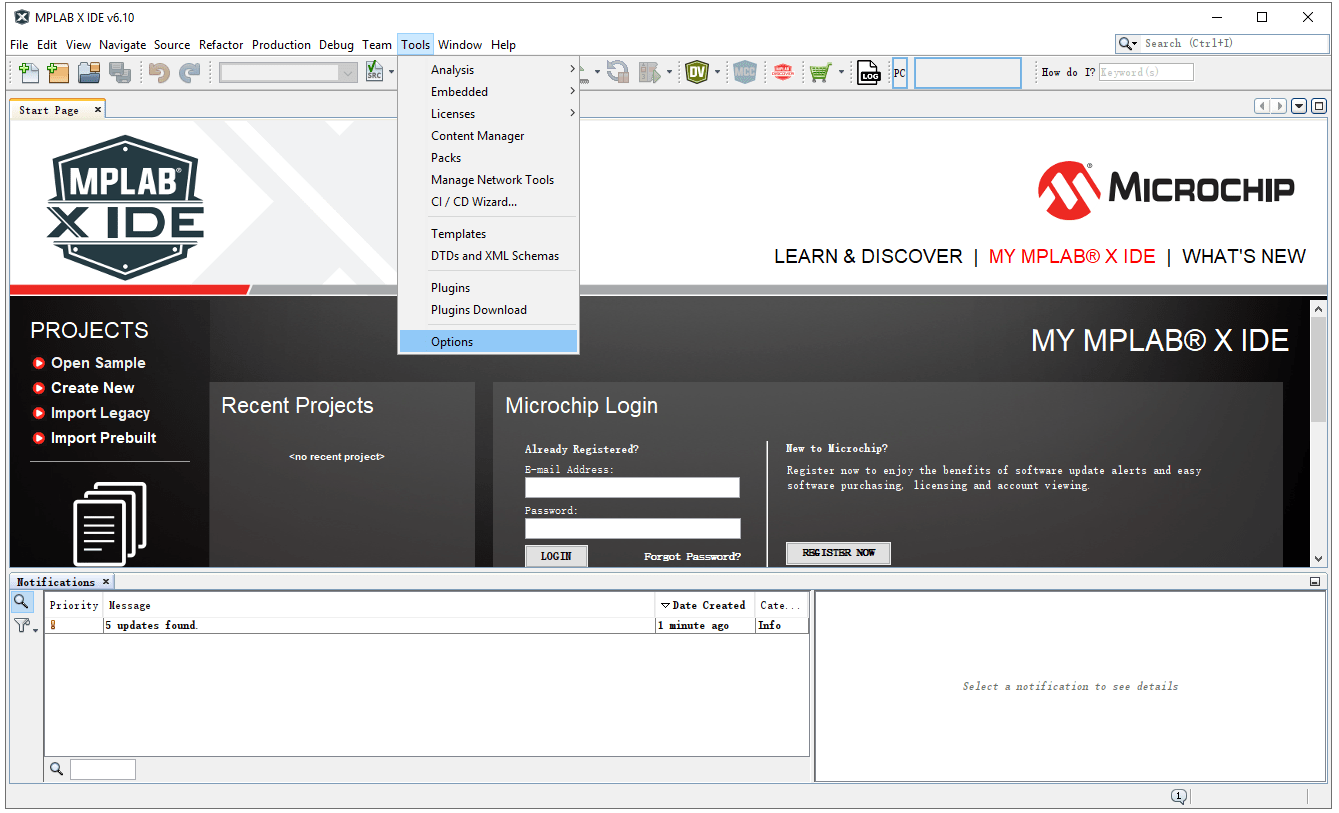
Click “Tools” -> “Options” as shown in the figure below:
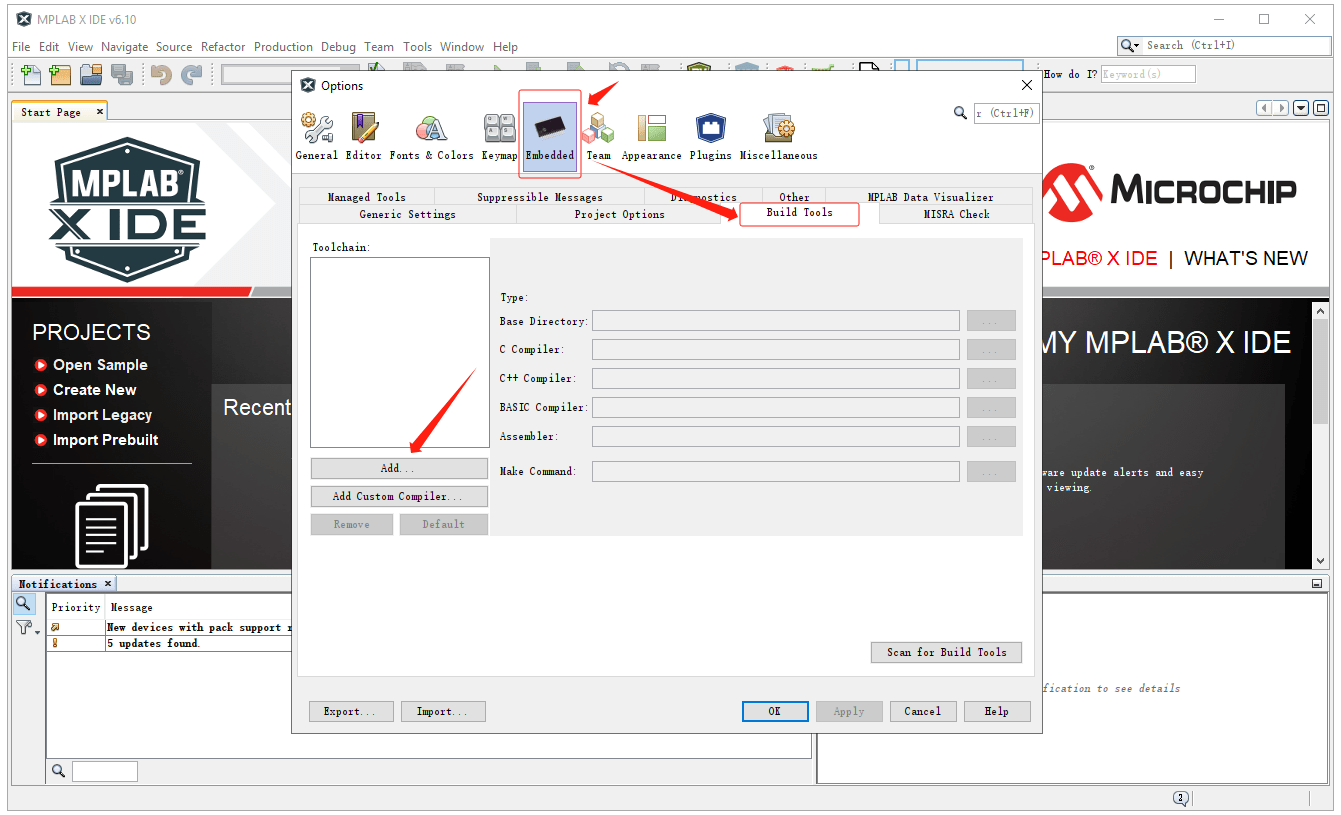
Then click the “Build Tools” option under “Embedded”. Click the “Add” button under “Toolchain:”:
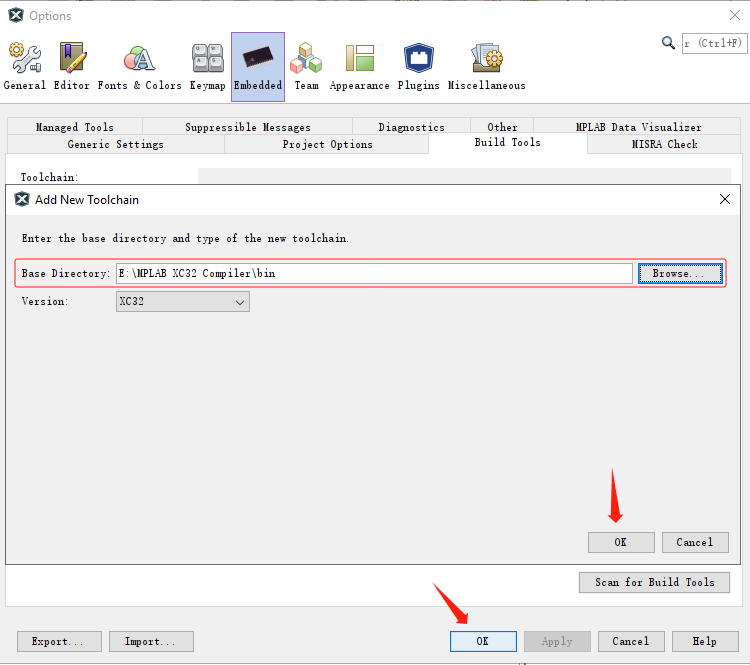
Select the bin file from the installation path of the MPLAB compiler. Next, click “OK”.
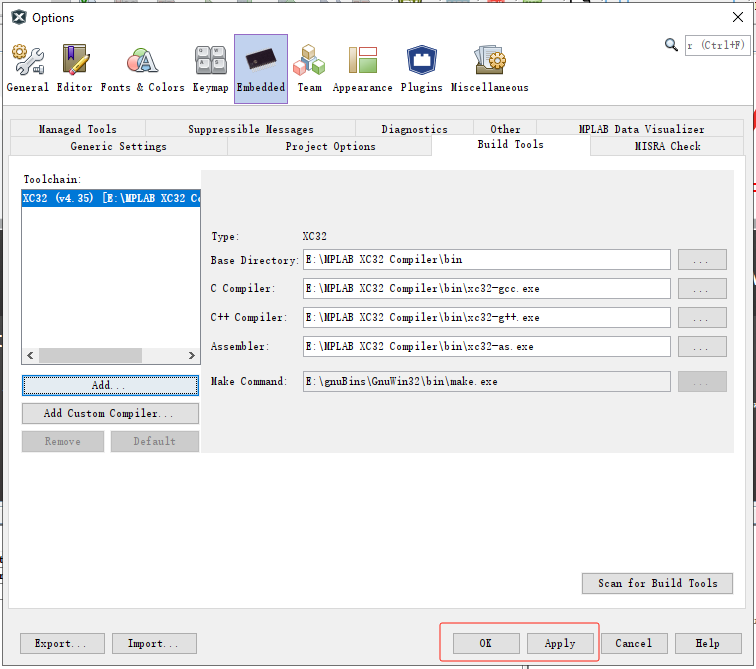
After the bin file is successfully added to “Toolchain:”, click “Apply” and “OK”.
Step 4: MPLAB X IDE Programming
After installing the MPLAB X IDE software and MPLAB compiler, we start editing the program and downloading and debugging the program.
Create A New Project
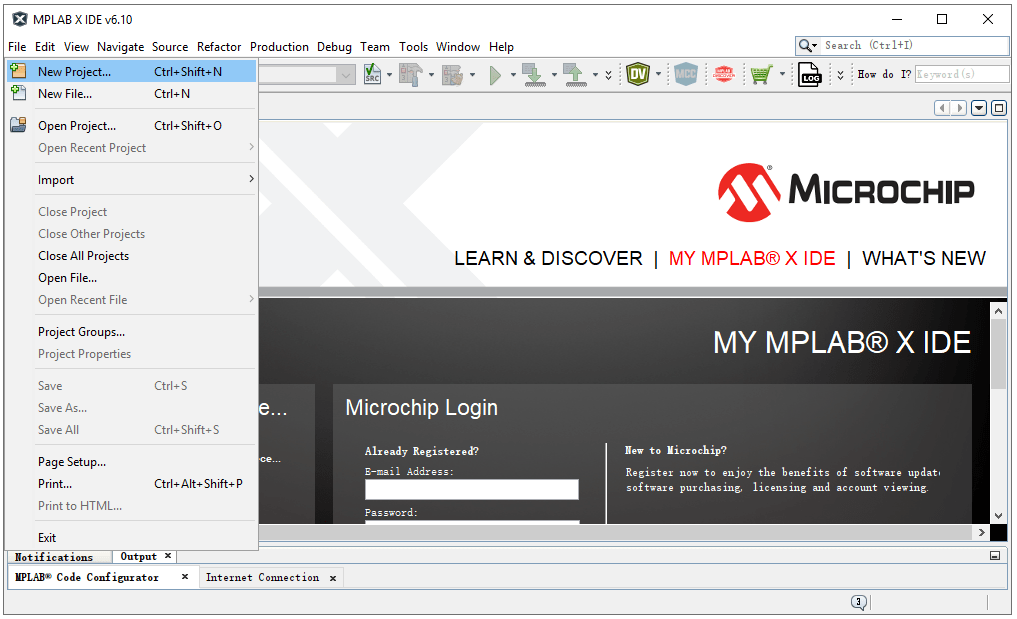
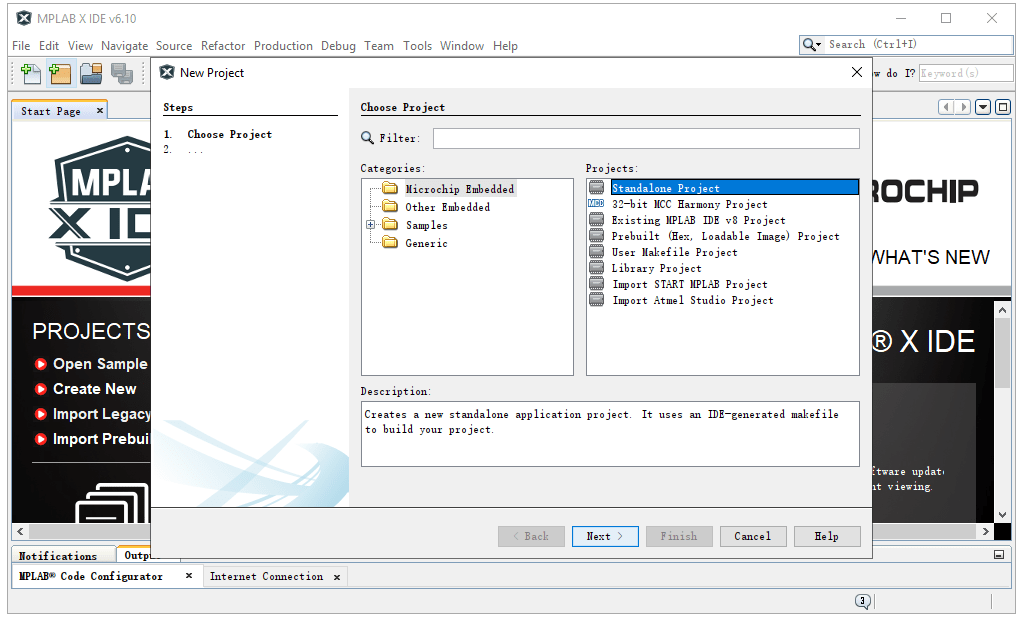
In MPLAB X IDE, click File > New Project to pop up the New Project window. Select Microchip Embedded in “Categories:”, then select Standalone Project in “Projects:”.
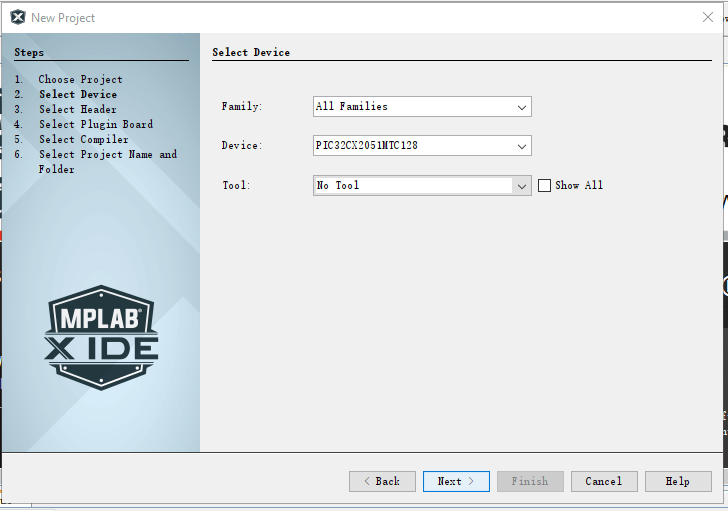
Next, select the MCU model suitable for your current project in Device, such as: PIC32CX2051MTC128.
(Note that because I just installed the XC32 compiler, we need to select the PIC32 series MCU here.)
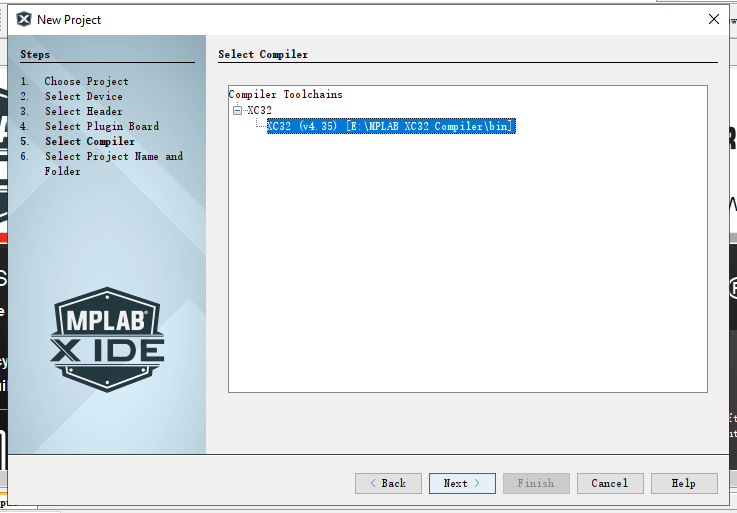
Then, select the XC32 compiler.
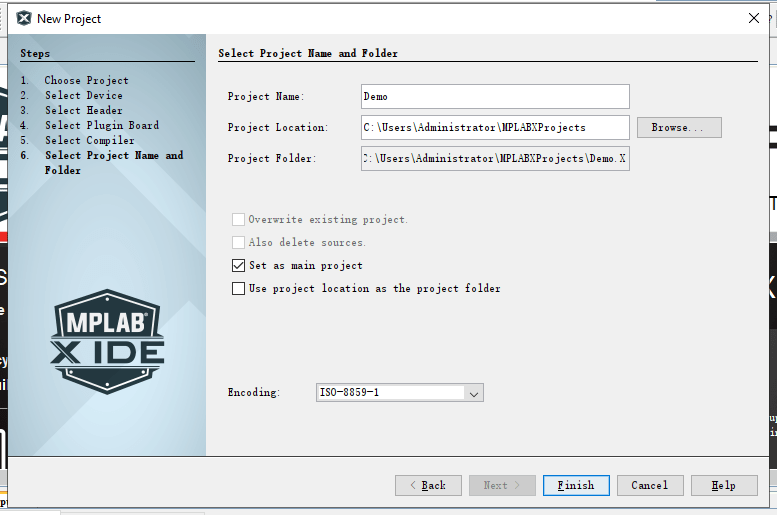
Write a Project Name, select the storage location of the project, and click “Finish”.
Write A Program
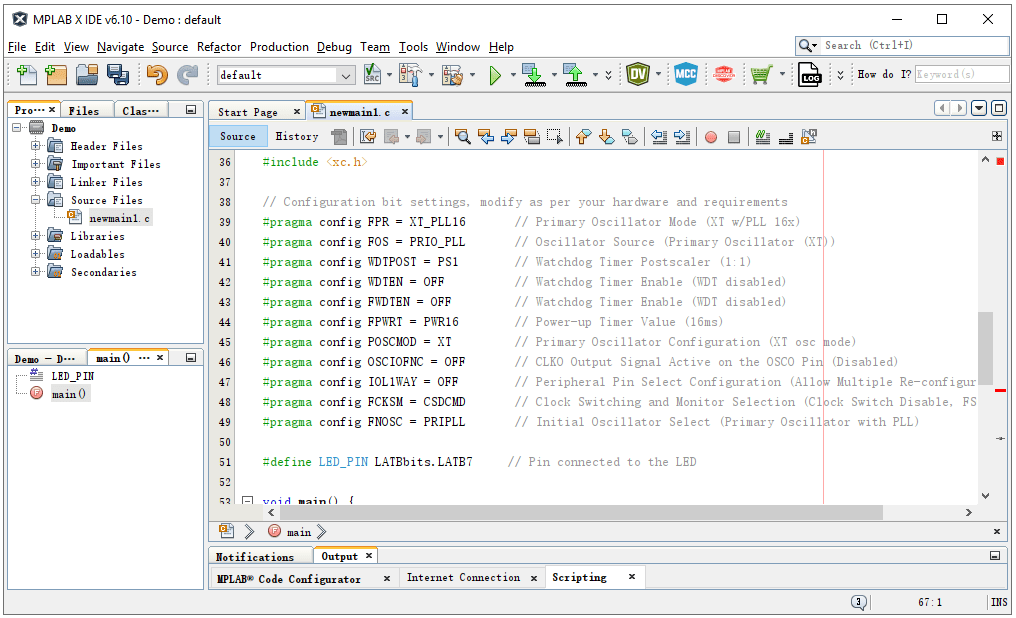
As shown in the figure below, after creating a new project, we can see the project list file on the left.
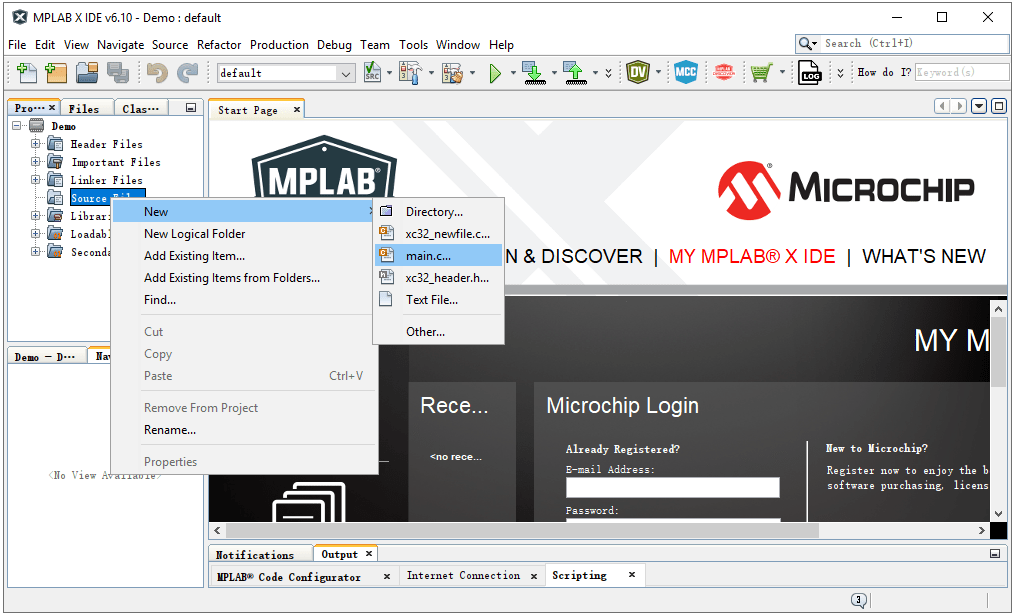
Right-click “Source Files” > “New” > “main.c” and add the main.c file to the created project. Then you can write a program for your microcontroller in this file.
The following is a simple PIC microcontroller program, which will light up an LED on the PIC microcontroller. You can modify and expand it as needed:


