Project 1: Blinking LED with Custom Patterns (Beginner-Friendly)
Hardware Setup
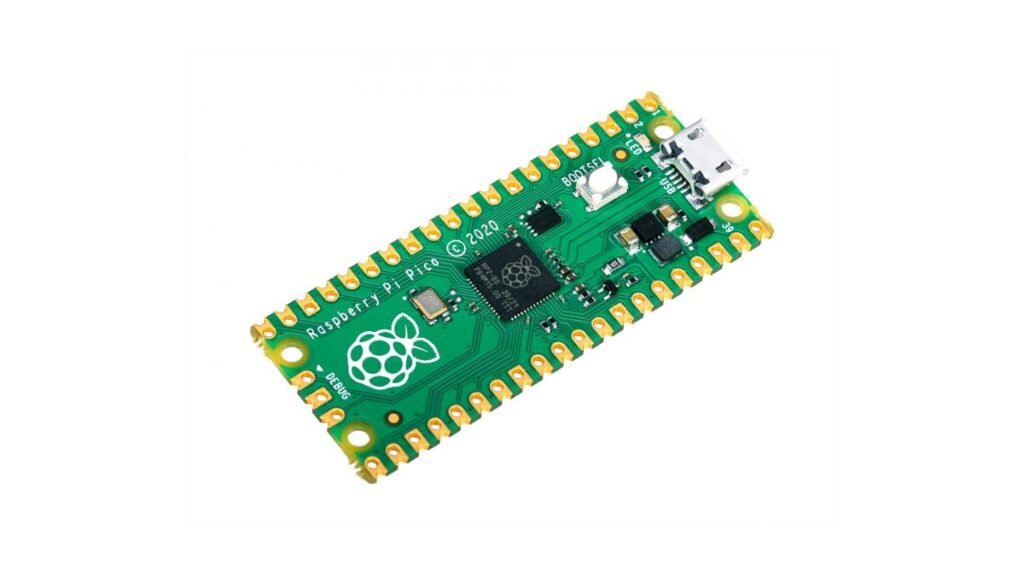
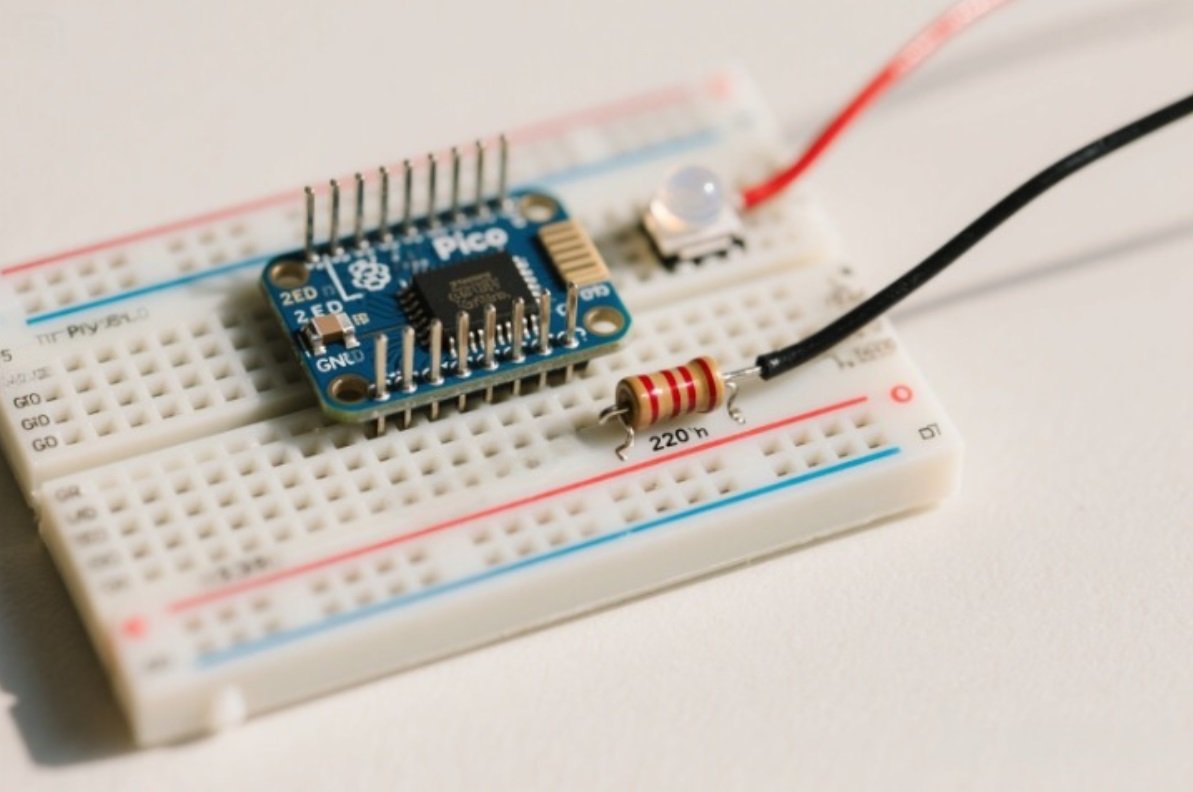
For this project, you’ll need a Raspberry Pi Pico, a breadboard, an LED, a 220-ohm resistor, and jumper wires. Connect the LED’s anode to GPIO pin 25 through the resistor and the cathode to the ground pin on the Pico. This setup ensures that the LED is protected from overcurrent by the resistor and is properly connected to the Pico’s GPIO pin for control.
Code Implementation
Using MicroPython, we’ll create a program to make the LED blink in different patterns. First, import the necessary modules:
from machine import Pin, Timer
Then, initialize the LED pin:
led = Pin(25, Pin.OUT)
					tim = Timer()

def tick(timer):
    led.toggle()

tim.init(freq=2, mode=Timer.PERIODIC, callback=tick)
Testing and Customization
Project 2: Temperature Monitoring System (Intermediate)
Hardware Requirements
Code Development
					import machine
import onewire
import ds18x20
import time
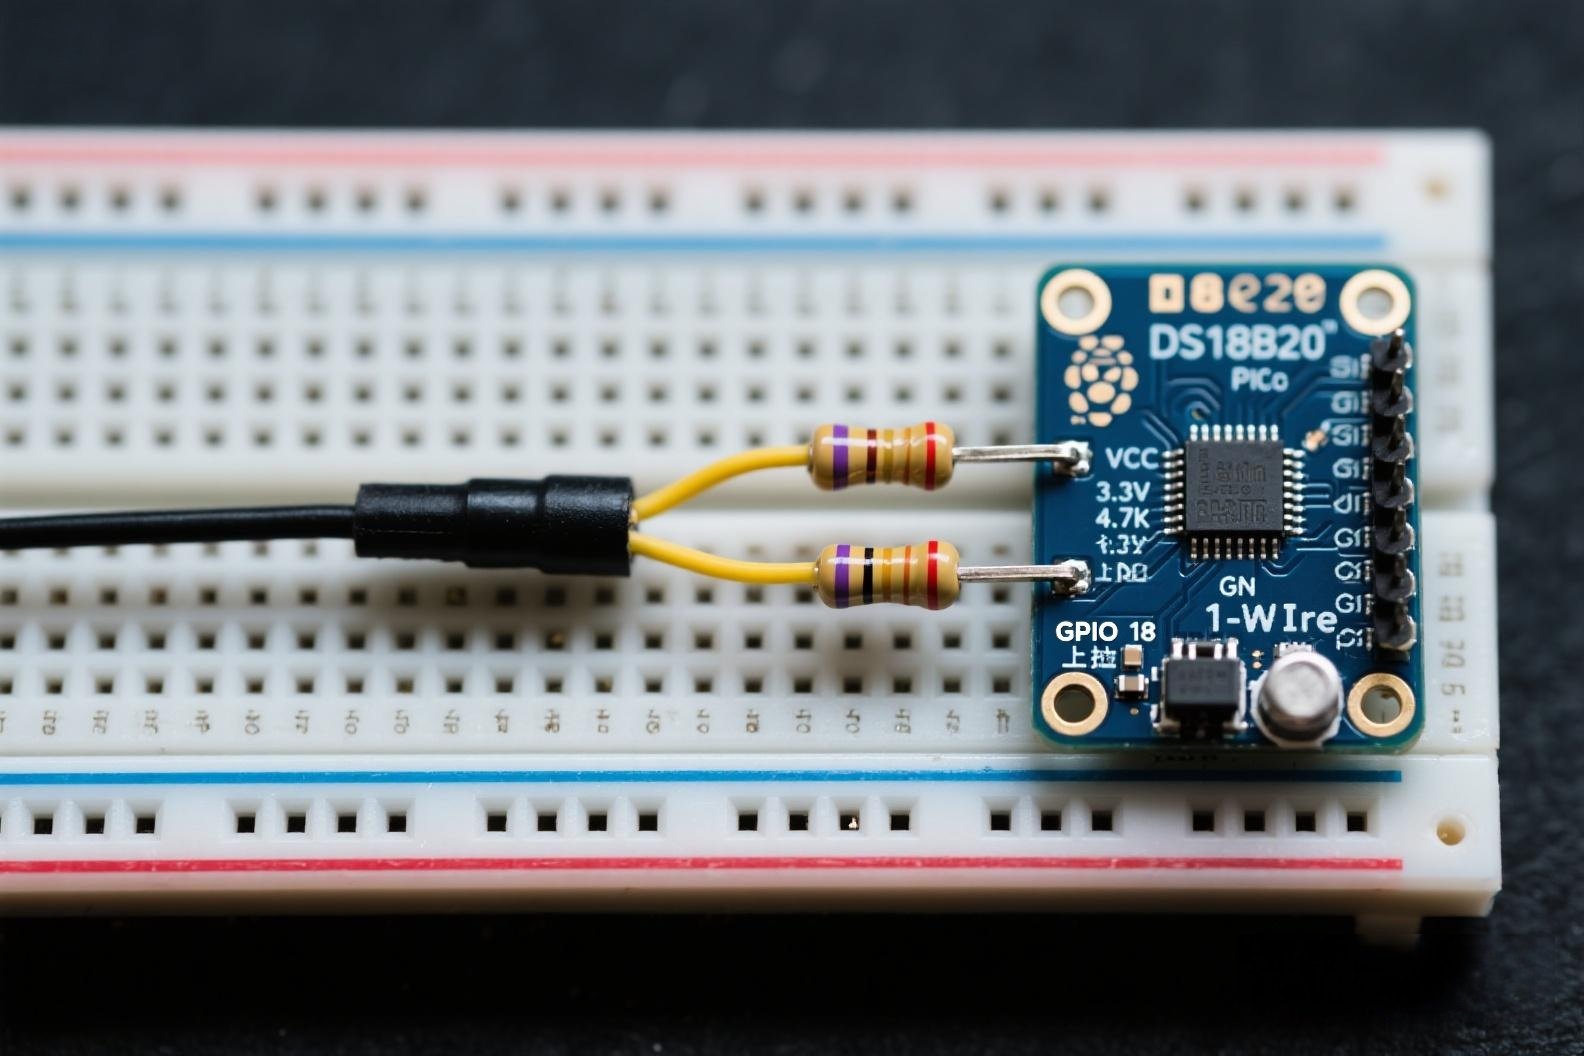
					ds_pin = machine.Pin(18)
ds_sensor = ds18x20.DS18X20(onewire.OneWire(ds_pin))
					roms = ds_sensor.scan()
print('Found DS devices: ', roms)
					while True:
    ds_sensor.convert_temp()
    time.sleep_ms(750)
    for rom in roms:
        print(ds_sensor.read_temp(rom))
    time.sleep(2)
Data Logging and Display
					from machine import I2C, Pin
import ssd1306

i2c = I2C(0, sda=Pin(0), scl=Pin(1), freq=400000)
oled = ssd1306.SSD1306_I2C(128, 32, i2c)
					while True:
    ds_sensor.convert_temp()
    time.sleep_ms(750)
    for rom in roms:
        temp = ds_sensor.read_temp(rom)
        print(temp)
        oled.fill(0)
        oled.text(f"Temp: {temp} C", 0, 0)
        oled.show()
    time.sleep(2)
					file = open('temperatures.txt', 'w')
while True:
    ds_sensor.convert_temp()
    time.sleep_ms(750)
    for rom in roms:
        temp = ds_sensor.read_temp(rom)
        print(temp)
        file.write(f"{time.time()},{temp}\n")
        file.flush()
    time.sleep(2)
Project 3: IoT Data Uploader (Advanced)
Hardware Setup
Code and IoT Integration
					import network

ssid = 'your_SSID'
password = 'your_PASSWORD'
					wlan = network.WLAN(network.STA_IF)
wlan.active(True)
wlan.connect(ssid, password)

while not wlan.isconnected():
    pass

print('Connected to WiFi')
					import bme280_i2c

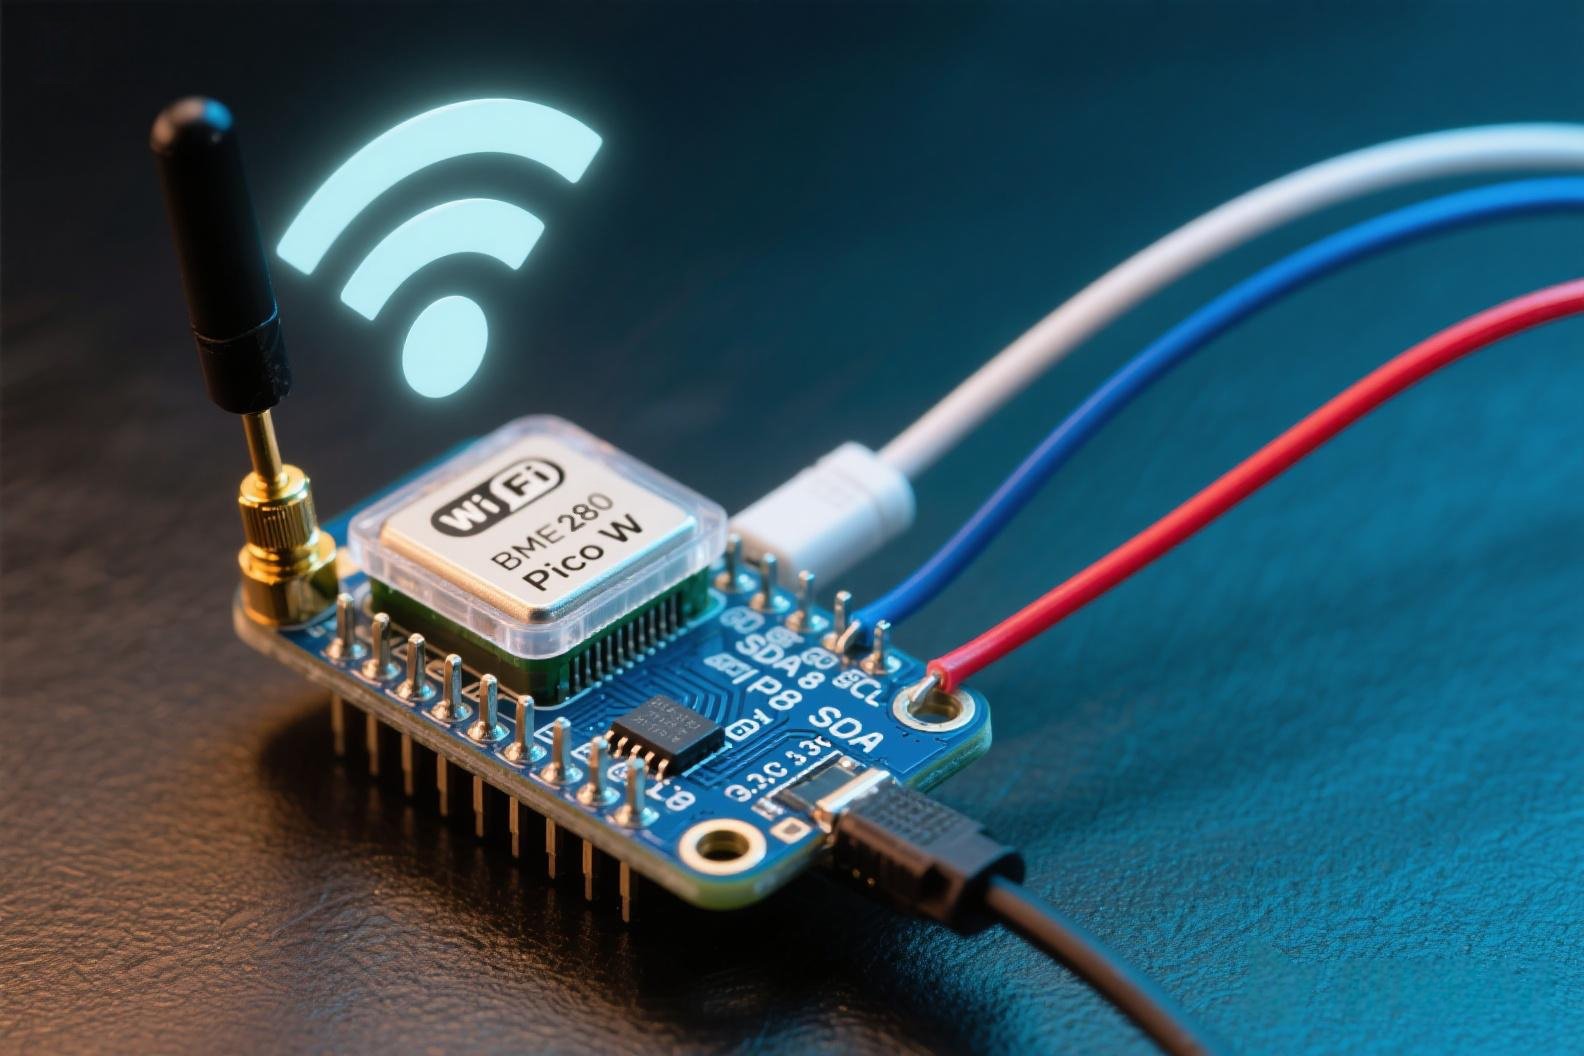
i2c = machine.I2C(0, sda=machine.Pin(8), scl=machine.Pin(9))
bme = bme280_i2c.BME280_I2C(i2c)
					import urequests

def upload_data(temperature, humidity, pressure):
    url = 'https://industrial.api.ubidots.com/api/v1.6/devices/your_device_label'
    headers = {'X-Auth-Token': 'your_token', 'Content-Type': 'application/json'}
    data = '{"temperature": %s, "humidity": %s, "pressure": %s}' % (temperature, humidity, pressure)

    response = urequests.post(url, headers=headers, data=data)
    if response.status_code == 200:
        print('Data uploaded successfully')
    else:
        print('Error uploading data')

    response.close()


while True:
    temperature, pressure, humidity = bme.values
    temperature = float(temperature.strip(' C'))
    humidity = float(humidity.strip(' %'))
    pressure = float(pressure.strip(' hPa'))

    upload_data(temperature, humidity, pressure)
    time.sleep(60)
Testing and Scalability
Pi Pico Projects That Exercise PIO, USB, Sensors, and Control
Useful Pi Pico projects teach one hardware concept at a time and leave room to measure whether the design works. Choose the exact Pico-family board first, because processor, wireless functions, memory, pin use, and software support vary; then design all external interfaces around the board’s documented 3.3 V logic limits.
- Start with acquisition: log a calibrated sensor with timestamps and defined sampling intervals.
- Explore PIO: generate or capture a timing-sensitive custom interface and verify it on test pins.
- Build a USB device: implement a small human-interface or serial function with clear reconnect behavior.
- Add closed-loop control: regulate speed, light, or temperature using a safe low-energy plant and bounded outputs.
- Engineer the prototype: include decoupling, level shifting, connector protection, test points, and a reproducible firmware build.