What is a Flying Probe Test?
Flying probe testing (FPT) is a non-contact electrical test method that uses flying probes to sense differences in electrical potential or the presence of conductive anomalies. These flying probes are lightweight, non-conductive, pointed rods that can be thrown or launched into the test area by a device operator.
To learn more about this technique, read on to discover how to perform a flying probe test and uncover hidden defects before they lead to costly repairs or scrapped products.

Why use a Flying Probe Test?
In pcb reverse engineering, FPT is usually used to test electrical signals from electrical circuits.
It is ideal for detecting small defects in conductive surfaces such as insulation layers and accessible areas of printed circuit boards (PCBs). These defects can affect the functionality of a circuit board and even cause an electrical fire. To ensure safety and functionality, it’s important to test for electrical defects before the circuit board is put into use.
It’s also suitable for testing accessible areas of PCBs and components that aren’t suitable for visual inspection.
Structure of Flying Probe Testing Machine
A flying probe tester is a motor-driven device that rapidly moves a free set of probes to contact test board pad or device pins to measure electrical characteristics. It cosists of the probe, the side drive structure, the electrical measurement component, and the software.
Probes
The probe is the core component of the flying probe tester. A common probe is mainly composed of eight small parts, namely base, spring bracket 1, spring bracket 2, photoelectric sensor, sensor bracket, spring, probe 1 and probe 2.

1) Photoelectric sensor
Photoelectric sensors have the advantages of large detection range, fast response time, high resolution, the ability to detect a wide variety of objects, non-contact detection, and colour distinction.
A photoelectric sensor utilises light’s features to detect changes in the surface state or the presence or absence of an item. The sensor consists of a light-emitting element that emits light and a light-receiving element that receives it.
If the light projected on the item being checked is reflected or blocked, the amount of light received will alter. The light-receiving part detects the alteration and generates an electric signal.

The three common photoelectric sensors are through-beam type, reflective type, and diffuse reflection type, all of which detect in different ways. The through-beam and reflective types have better sensitivity and reliability than the diffuse reflection type. With a speed of 10 to 50 times per second, the sensor on a flying probe tester operates continuously. The sensor must have fast response time, high sensitivity, and high reliability in order to detect the probe’s position.
2) Spring
The spring is the key component of the probe, and it must be malleable enough in the Z direction to ensure proper photoelectric sensor activation. To prevent the probe from damaging the test board, its stiffness must be sufficient to prevent rebound or vibration, which would cause false triggering of the photoelectric sensor.

3) Probes
An electrical test circuit is connected to the test board through the probe’s test part. There are four categories of probes, which include common knife-style probes, common needle-style probes, Kelvin blade-style probes, and Kelvin needle-style probes. The four-wire flying probe tester can accomplish two-wire functions, but the two-wire flying probe tester cannot accomplish four-wire functions, making it technically more advanced.

Equipment Required for a Flying Probe Test
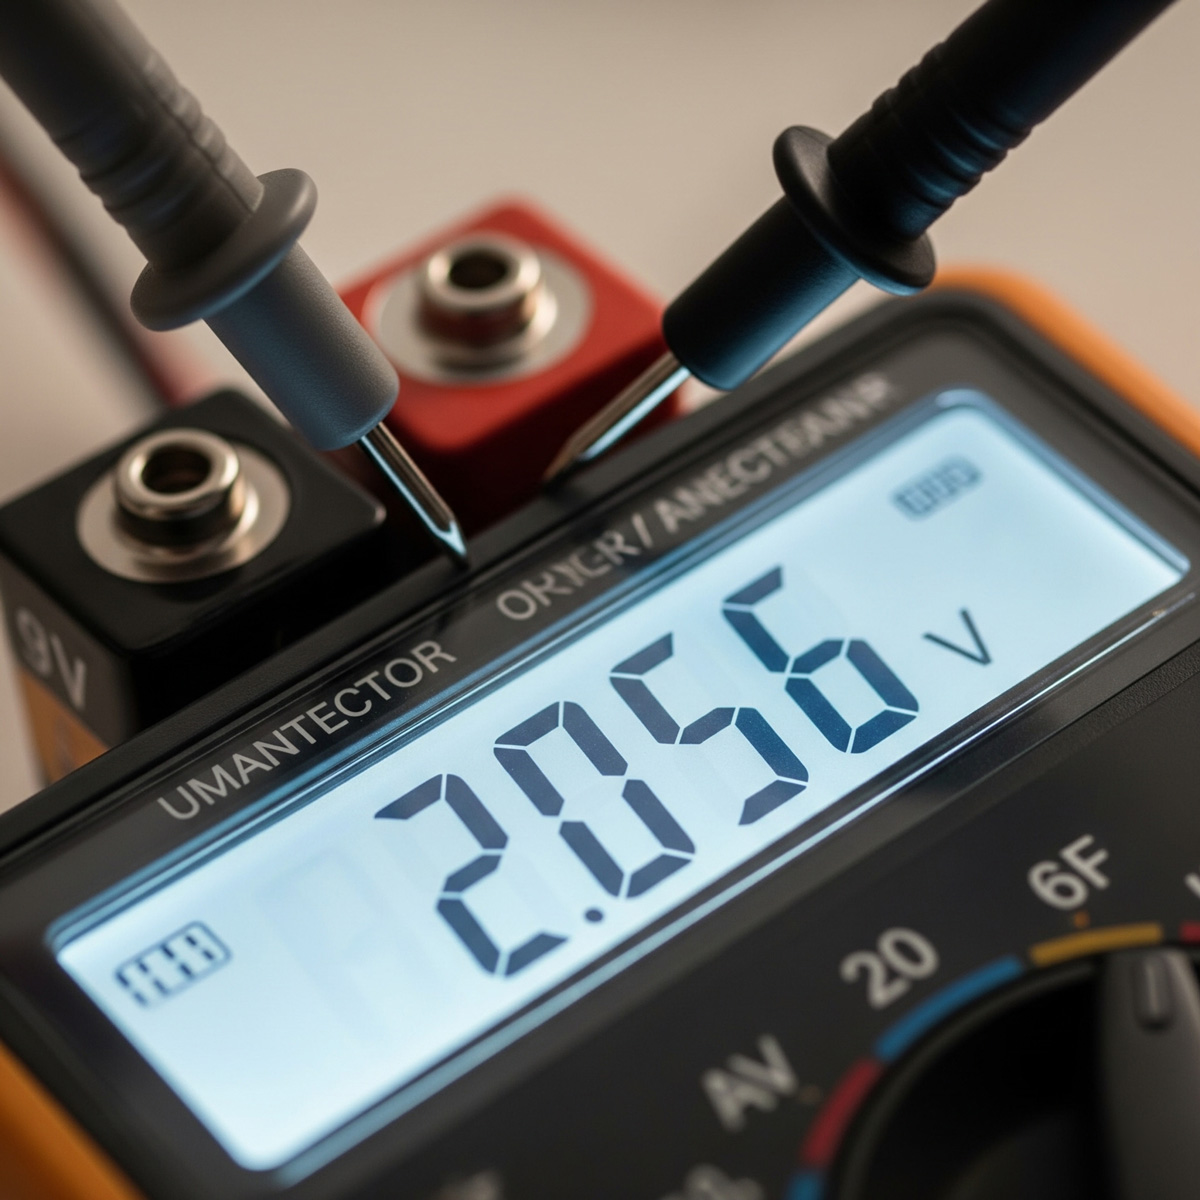
Test Controller – A test controller is a device that manages the FPT, records data, and transmits it to a computer for analysis. Test controllers are the core of flying probe testing and should be used to ensure accurate results.
Flying Probes – Flying probes are the test leads that are thrown into the test area. They are usually made of tungsten or stainless steel and have a pointed tip to detect electrical potential or the presence of a short circuit. The length of flying probes can vary depending on the test configuration and the distance between the controller and the flying probes.
Grounding Probe – The grounding probe is used to create an electrical connection between the flying probe test leads and the ground of the power supply. The grounding probe is usually a wire that connects the flying probe leads to the ground.
Grounding Wire – The grounding wire is used to connect the grounding probe to the power supply ground. It’s most commonly made of copper or stainless steel and is covered with an insulating layer.
Test Strips – Test strips are rectangular pieces of conductive material that are used to verify the results of a flying probe test.
How to Perform a Flying Probe Test?
Prepare FPT – Check that the flying probe test leads are in good condition and that the connectors are secure. The test strips should be clean and ready for use. Before performing the test, make sure that the power supply is set to the correct voltage. It’s important to know the voltage that’s being used during the test because it can affect the results.
Choose the Appropriate Flying Probe Pattern – Flying probes are usually thrown in a random pattern, but there are also pre-set patterns that can be used. The pattern chosen will depend on the type of test being performed and the test area. Usually, the desired test area is divided into segments and then a flying probe pattern is chosen to cover each segment. The flying probes should cover all parts of the test area including inaccessible areas where defects may be present.
Throw Flying Probes – After setting the test pattern, throw the probes into the test area. It’s important to throw the flying probes at a low speed so that the tips don’t break. Verify the Results – Once all the flying probes have been thrown, plug the grounding probe into the power supply ground. The grounding probe should be plugged in when the test is complete to avoid losing the results due to a faulty connection. Use the test strips to verify the flying probe results. The results should be displayed on the test controller.
Results Evaluation
Find the Defect – After the FPT results are displayed, look for an abnormality in the results. Defects in the test area will produce an abnormality in the results, which can be seen on the test controller as a difference in potential or a short circuit.
Verify the Location of the Defect – After finding the defect, use the flying probe test results to verify its location. The test strip used to verify the results should be connected to the same segment as the defect. If the results are the same on the test strip as they are on the test controller, the defect is most likely located in the same segment as the test strip.
Limitations of a Flying Probe Test
Flying probe tests are a useful non-destructive electrical test method, but they can’t be used on all types of materials. Here are some limitations:
– Certain Materials Can’t Be Tested – If a material is too thick, too thin, or doesn’t conduct electricity, it can’t be tested with flying probe methods. This can include non-conductive materials like air or non-conductive fluids.
– Instrument Limitations – Flying probe tests are limited by the test equipment used and how it’s configured. For example, distance and test strip size can affect test results.
– Test Conditions – Flying probe tests can be affected by environmental conditions like humidity and temperature. The test results must be conducted in a controlled environment.
Conclusion
Flying probe tests are a quick and effective non-destructive electrical test method that can be used to test the continuity of conductive surfaces. They can be used to detect electrical defects in printed circuit boards, as well as detect faults in components and wiring.
Flying probe tests can be used to test a wide variety of materials including non-conductive and non-metallic materials. However, certain materials, such as non-conductive fluids, can’t be tested with flying probe methods.
Additionally, flying probe tests can be limited by the test equipment used and how it’s configured.